Oracle Cloud (OCI) AutoScale
This guide will walk you through configuring autoscaling for Kasm Workspaces on Oracle Cloud. Autoscaling in Kasm Workspaces automatically provisions and destroys agents based on user demand, ensuring optimized resource utilization and cost efficiency.
Overview
Prerequisites
- Access to Digital Ocean: Ensure you have the appropriate access to your Oracle environment
- Kasm Workspaces Installed: A basic setup of Kasm Workspaces must already exist
- Understand Key Concepts:
- Zones: Logical groupings of Kasm services for geographical or organizational segmentation
- Pools: Logical groupings of Kasm Docker Agents and Server Pools for load balancing
- Plan Your Configuration:
- Understand your deployment zone requirements
- Configure your OCI environment
Setup your Oracle Cloud Environment
- Create an API Key on OCI: You need to create an API key so that Kasm can use it to talk to OCI on your behalf.
- Generate a key pair with OpenSSL
# create a directory for storing your key pair
mkdir -p ~/.oci

# create private key
openssl genrsa -out ~/.oci/oci_api_key.pem 2048

# create public key
openssl rsa -pubout -in ~/.oci/oci_api_key.pem -out ~/.oci/oci_api_key_public.pem - Copy your public key
- Go your OCI dashboard -> Click on your Profile -> "User Settings" -> "API keys" -> "Add API Key"
- Select "Paste a public key" and paste your public key here and click "Add"
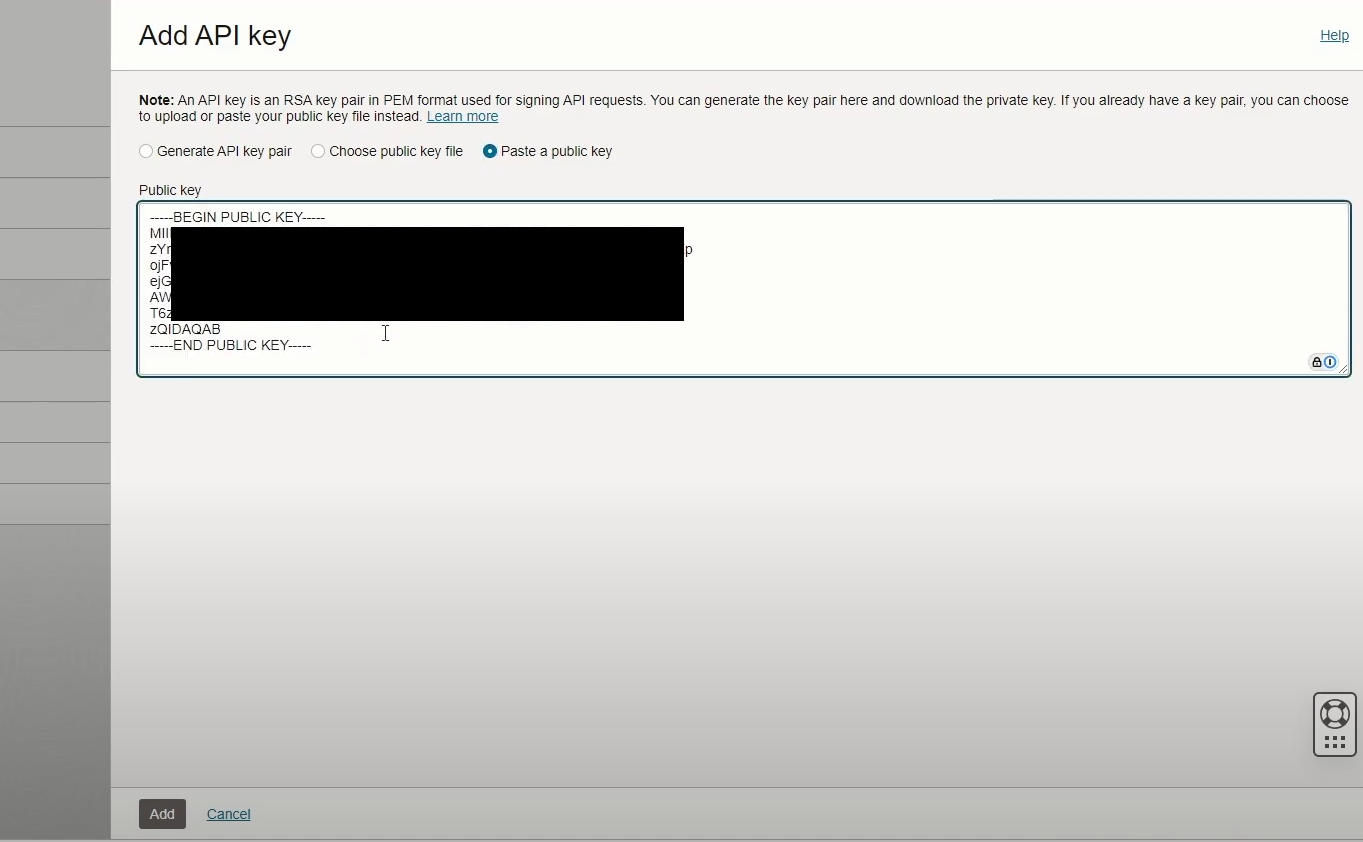
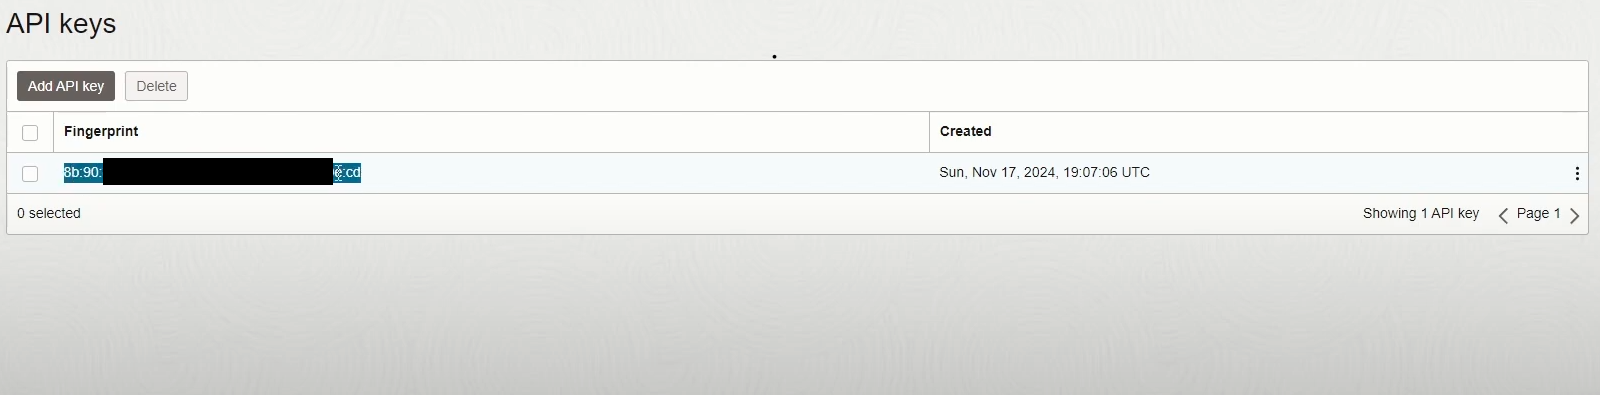
Add API Key to OCI - This will generate the "Public Key Fingerprint". Make a note of it as this value needs to be fed into Kasm later.
Public Key fingerprint - Generate a key pair with OpenSSL
Configure your Oracle Cloud details on Kasm
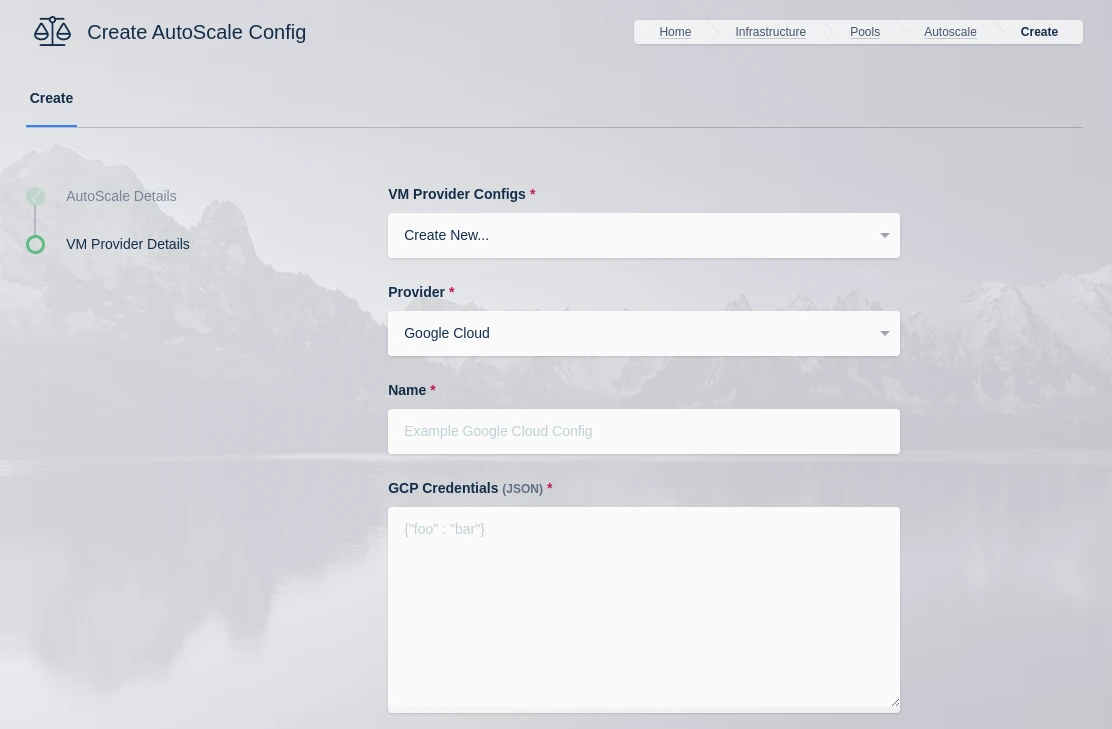
- Follow AutoScale Settings for Agent Pool or AutoScale Settings for Server Pool to create a new AutoScale config, or select Create New in VM Provider Configs if you already have one.
- Set Provider to Oracle Cloud
- Configure the following settings:
| Name | Description |
|---|---|
| Name | An identifying name for this provider configuration e.g. Google Cloud (GCP) Docker Agent Autoscale Provider |
| GCP Credentials | The JSON formatted credentials for the service account used to authenticate with GCP: Ref |
| Max Instances | The maximum number of GCP compute instances to provision regardless of the need for additional resources. |
| Project ID | The Google Cloud Project ID (e.g pensive-voice-547511) |
| Region | The region to provision the new compute instances. (e.g us-east4) |
| Zone | The zone the new compute instance will be provisioned in (e.g us-east4-b) |
| Machine Type | The Machine type for the GCP compute instances. (e.g e2-standard-2) |
| Machine Image | The Machine Image to use for the new compute instance. (e.g projects/ubuntu-os-cloud/global/img/ubuntu-2204-lts) |
| Boot Volume GB | The size (in GB) of the boot volume to assign the compute instance. |
| Disk Type | The disk type for the new instance. (e.g pd-ssd, pd-standard, etc.) |
| Customer Managed Encryption Key (CMEK) | The optional path to the Customer Managaged Encryption Key (CMEK) (e.g projects/pensive-voice-547511/locations/global/keyRings/my-keyring/cryptoKeys/my-key |
| Network | The path of the Network to attach the new instance. (e.g projects/pensive-voice-547511/global/networks/default) |
| Sub Network | The path of the Sub Network to attach the new instance.(e.g projects/pensive-voice-547511/regions/us-east4/subnetworks/default) |
| Public IP | If checked, a public IP will be assigned to the new instances |
| Network Tags (JSON) | A JSON list of the Network Tags to assign the new instance. (e.g ["https-server", "foo", "bar"]) |
| Custom Labels (JSON) | A JSON dictionary of Custom Labels to assign the new instance (e.g {"foo": "bar", "bin":"baz"}) |
| Metadata (JSON) | A JSON list of metadata objects to add to the instance. (e.g [{"key": "ssh-keys", "value":"user1:ssh-rsa <key contents> user1"}]) Reference |
| Service Account (JSON) | A JSON dictionary representing for a service account to attach to the instance. (e.g {"email": "service-account@example.com", "scopes":["https://www.googleapis.com/auth/cloud-platform"]}) Reference |
| Guest Accelerators (JSON) | A JSON list representing the guest accelerators (e. GPUs) to attach to the instance. (e.g [{"acceleratorType":"projects/<project-id>/zones/<zone>/acceleratorTypes/nvidia-tesla-t4","acceleratorCount":1}]) Reference |
| GCP Config Override (JSON) | A JSON dictionary that can be used to customize attributes of the VM request. The only attributes that cannot be overridden are name and labels (e.g {"shieldedInstanceConfig":{"enableIntegrityMonitoring":true,"enableSecureBoot":true,"enableVtpm":true}} Reference |
| VM Installed OS Type | The family of the OS installed on the VM (e.g. linux or windows). |
| Startup Script Type | The type of startup script to execute, this determines the key used when creating the GCP startup script metadata. Windows Startup Scripts Linux Startup Scripts |
| Startup Script | When instances are provisioned, this script is executed and is responsible for installing and configuring the Kasm Agent. Bash is supported on Linux instances and Powershell for Windows instance. Example scripts can be found on our Github repo |
- Submit the Provider Config
OCI Config Override Examples
Below are some OCI autoscale configurations that utilize the OCI Config Override.
Disable Legacy Instance Metadata Service
Disables instance metadata service v2 for additional security.
{
    "launch_instance_details": {
        "instance_options": {
            "OCI_MODEL_NAME": "InstanceOptions",
            "are_legacy_imds_endpoints_disabled": true
        }
    }
}
Enable Instance Agent Plugins
A list of available plugins can be retrieved by navigating to an existing instance's "Oracle Cloud Agent" config page. This example enables the "Vulnerability Scanning" plugin.
{
    "launch_instance_details": {
        "agent_config": {
            "OCI_MODEL_NAME": "LaunchInstanceAgentConfigDetails",
            "is_monitoring_disabled": false,
            "is_management_disabled": false,
            "are_all_plugins_disabled": false,
            "plugins_config": [{
                "OCI_MODEL_NAME": "InstanceAgentPluginConfigDetails",
                "name": "Vulnerability Scanning",
                "desired_state": "ENABLED"
            }]
        }
    }
}
Test your Oracle Cloud Autoscaling setup
If you have configured non-zero Standby/Minimum Available Session values agents should start provisioning immediately. Otherwise, try launching multiple workspaces to increase resource utilization, prompting Kasm to autoscale new agents.
- Provision a Workspace
- Go to Workspaces > Registry
- Make multiple workspaces available
- Go to the Workspaces dashboard and launch sufficient workspace sessions to exceed your resource standby thresholds
- Monitor the provisioning of new agents by going to "Infrastructure" -> "Agents"
- Verify new VM instances in Proxmox
- Check Downscaling
- Terminate sessions to reduce resource usage
- Confirm that Kasm removes agents after the back-off period