Microsoft Azure AutoScale
This guide will walk you through configuring autoscaling for Kasm Workspaces on Microsoft Azure. Autoscaling in Kasm Workspaces automatically provisions and destroys agents based on user demand, ensuring optimized resource utilization and cost efficiency.
Overview
Prerequisites
- Access to Microsoft Azure: Ensure you have the appropriate access to your Azure environment
- Kasm Workspaces Installed: A basic setup of Kasm Workspaces must already exist
- Understand Key Concepts:
- Zones: Logical groupings of Kasm services for geographical or organizational segmentation
- Pools: Logical groupings of Kasm Docker Agents and Server Pools for load balancing
- Plan Your Configuration:
- Understand your deployment zone requirements
- Configure your Azure environment
Setup your Microsoft Azure Environment
-
Register Azure app: An API key for Kasm must be created to use for interfacing with Azure. Azure call these apps, and the example will walk through registering one along with the required permissions.
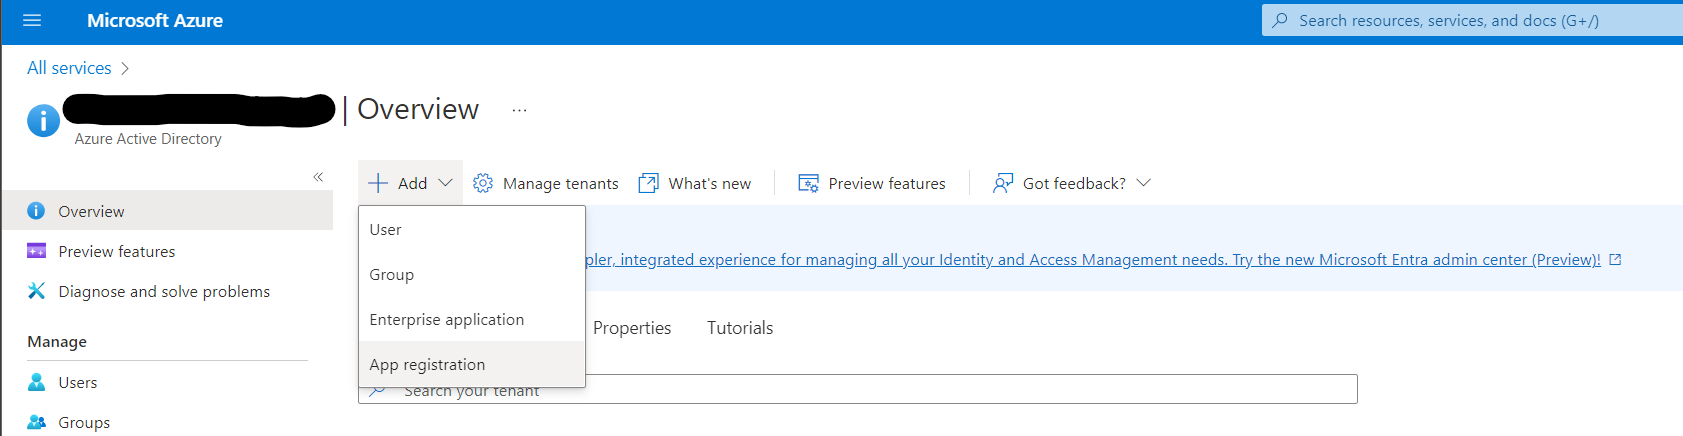
- Register an app by going to the Microsoft Entra ID service in the Azure portal.
Microsoft Entra ID - From the Add dropdown select App Registration.
App Registration - Give this app a human-readable name such as Kasm Workspaces.
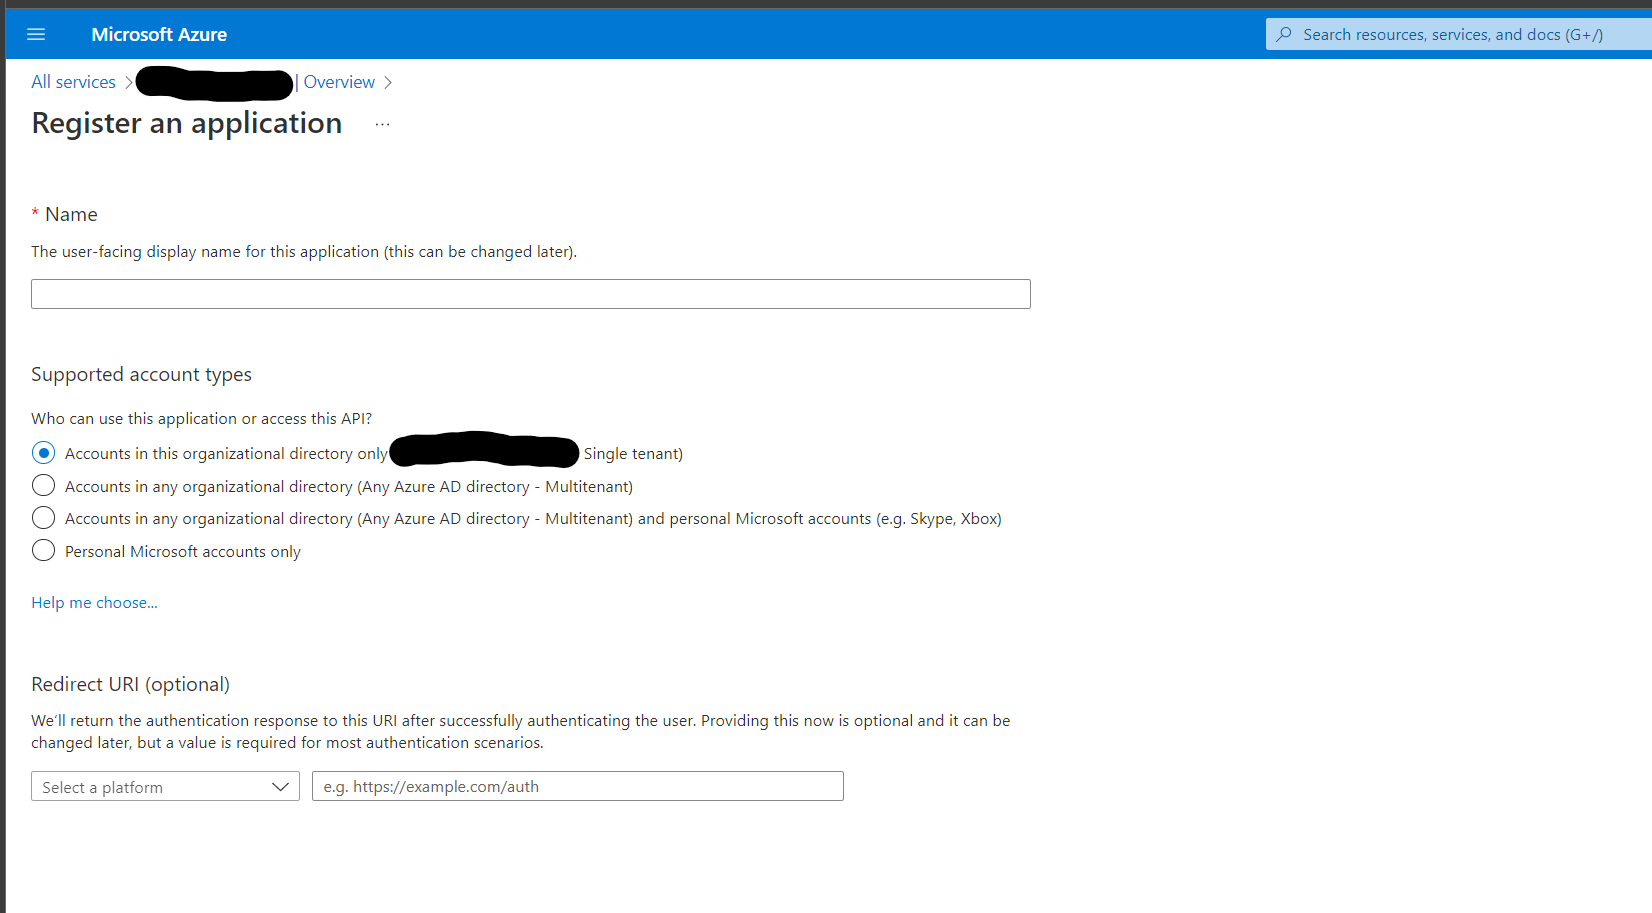
App Registration - Note the Client ID (Application ID) and Tenant ID (Directory ID) from your App Registration page for use later.
-
Create Client Secret: The Client Secret is created from the App Registration.
- Click Add a certificate or secret to the right of Client credentials.
- Click New client secret under the Client secrets table.
- Fill in the Description and Expires fields and click Add.
- Note the Value (not the Secret ID) for use later. This cannot be copied again afterwards, so save it now.
-
Set up permissions: Certain permissions must be set up in Azure by adding role assignments.
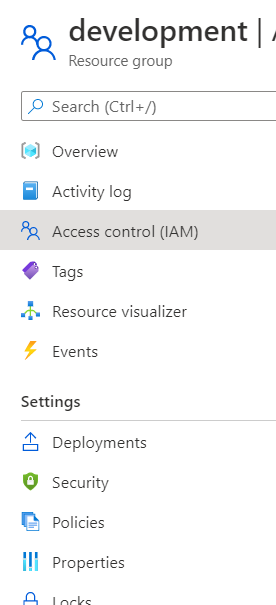
- Go to Resource Groups and select the Resource Group that Kasm will autoscale in.
Azure Resource Groups - Select Access Control (IAM).
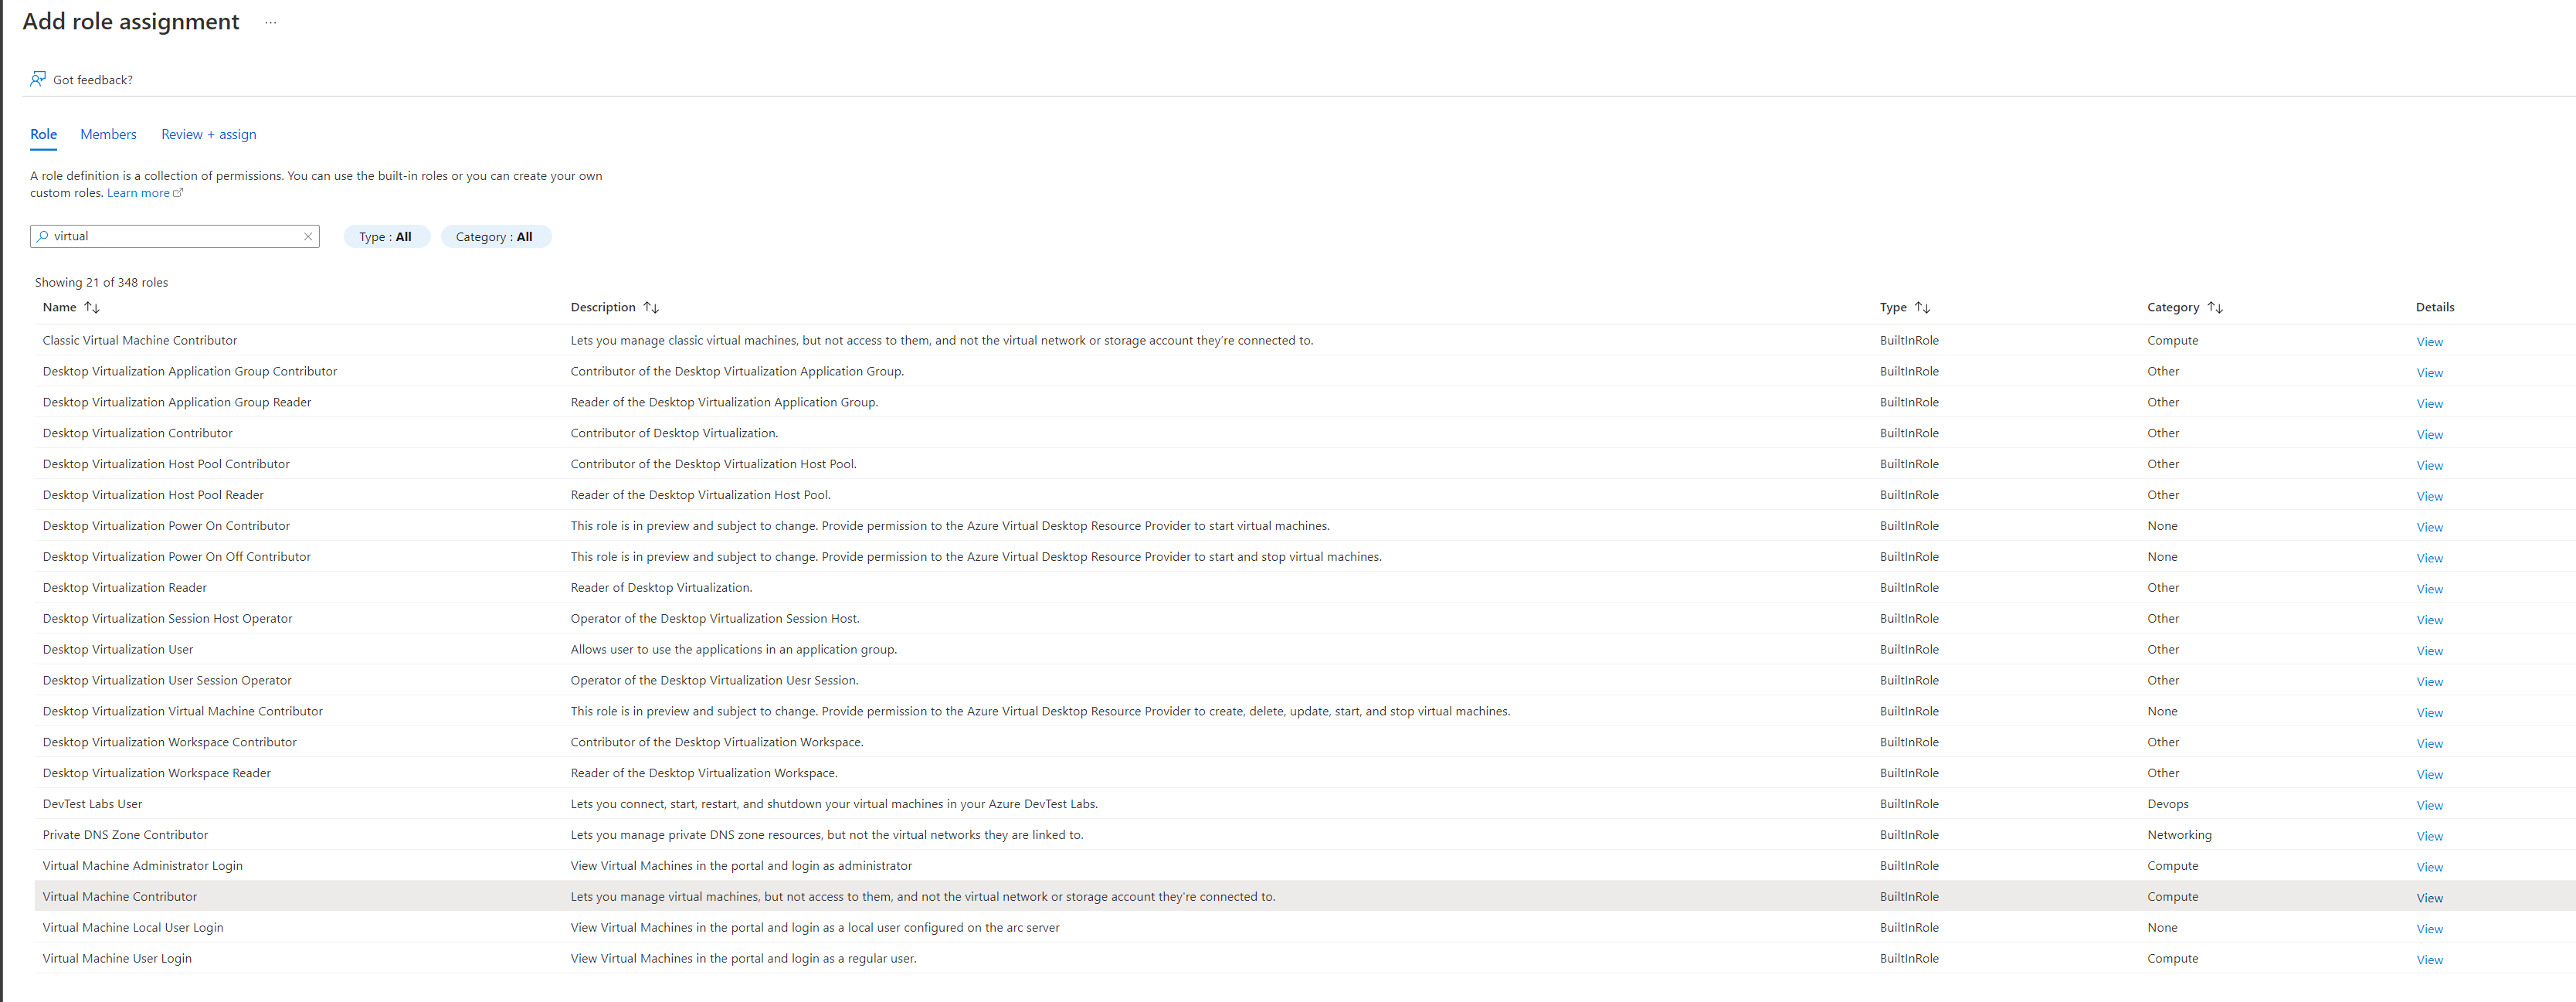
Access Control - From the Add drop down select Add role assignment.

Add Role Assignment - The app created in Azure will need two roles, first select the Virtual Machine Contributor role, then on the next page select the app by typing in the name e.g. Kasm Workspaces.
Virtual Machine Contributor 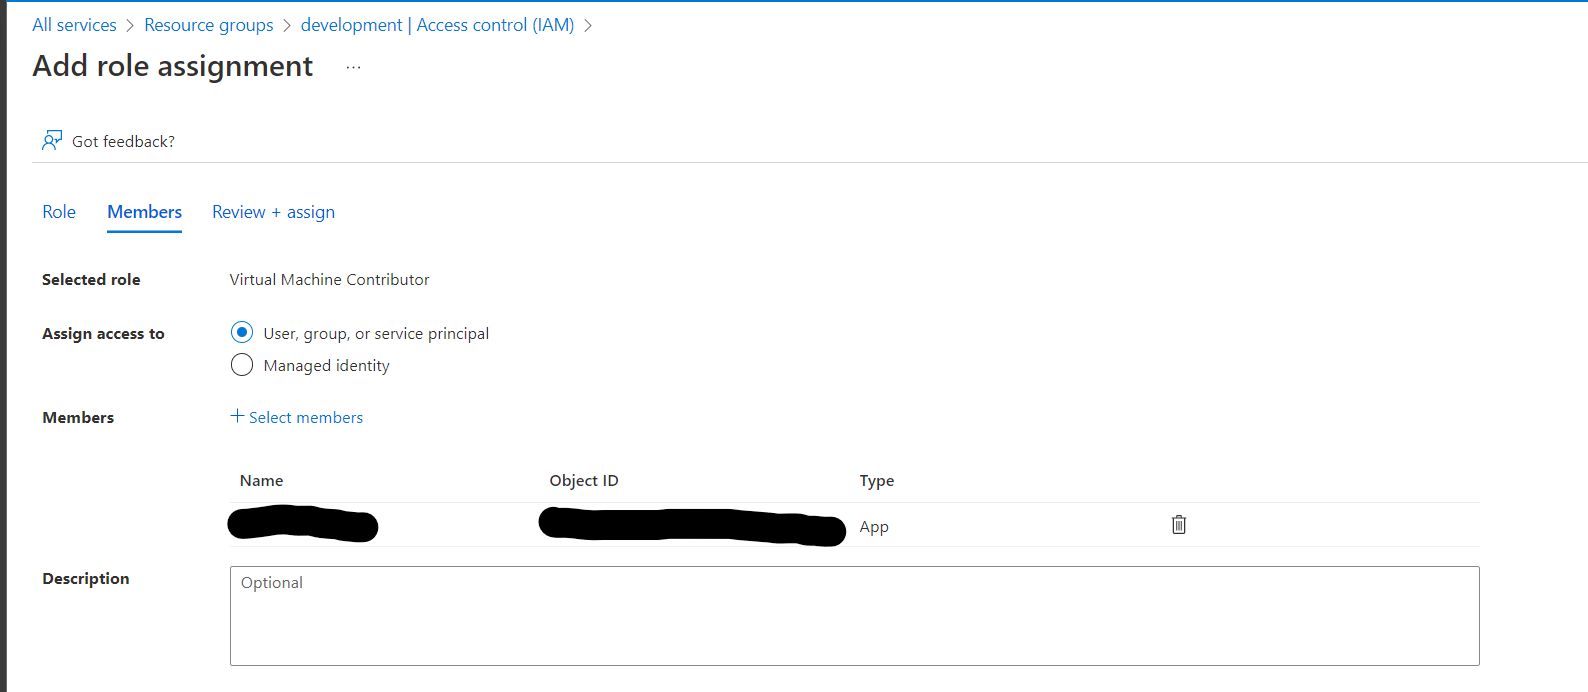
Assign Contributor - Go through this process again to add the Network Contributor and the DNS Zone Contributor and the Compute Gallery Image Reader roles.
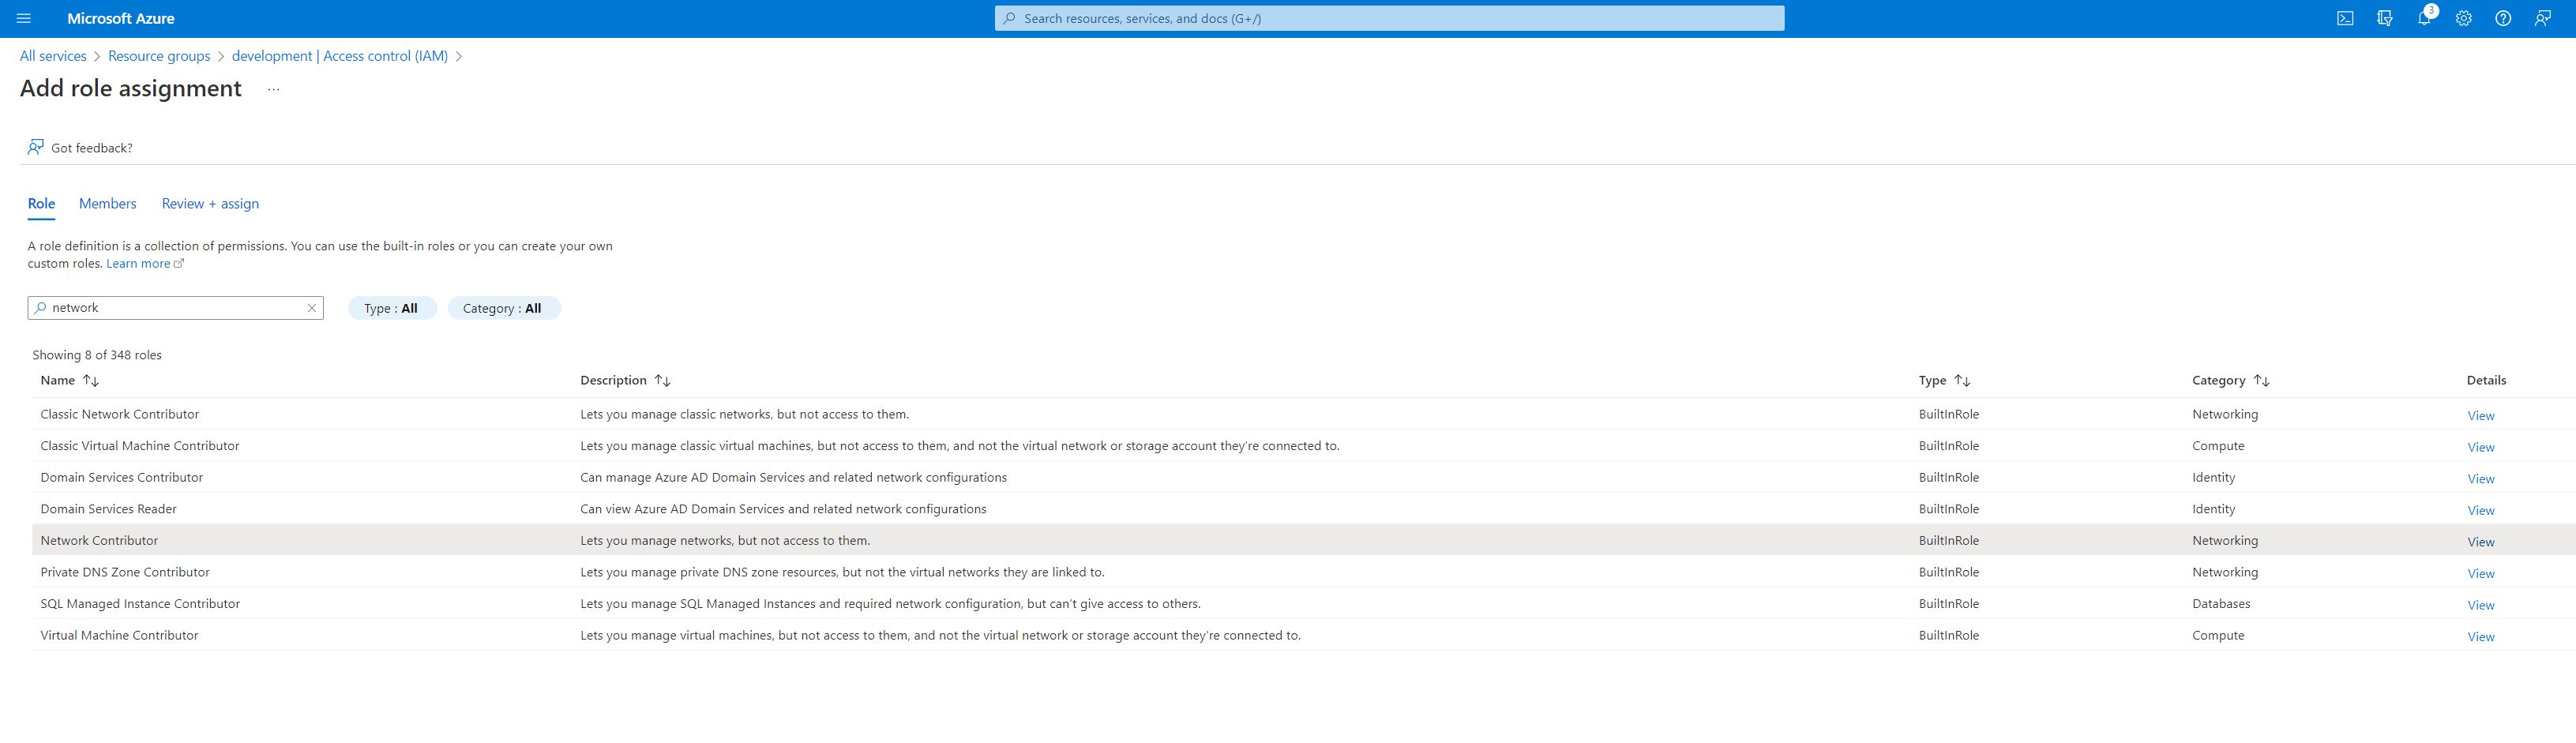
Network Contributor 
DNS Zone Contributor 
Compute Gallery Image Reader
Configure your Microsoft Azure details on Kasm
- Follow AutoScale Settings for Agent Pool or AutoScale Settings for Server Pool to create a new AutoScale config, or, if you already have an AutoScale Configuration defined, go straight to the All VM Provider Configs page, click Add to and select Add New in VM Provider Configs.
- Configure the following settings based on the instruction that follow:
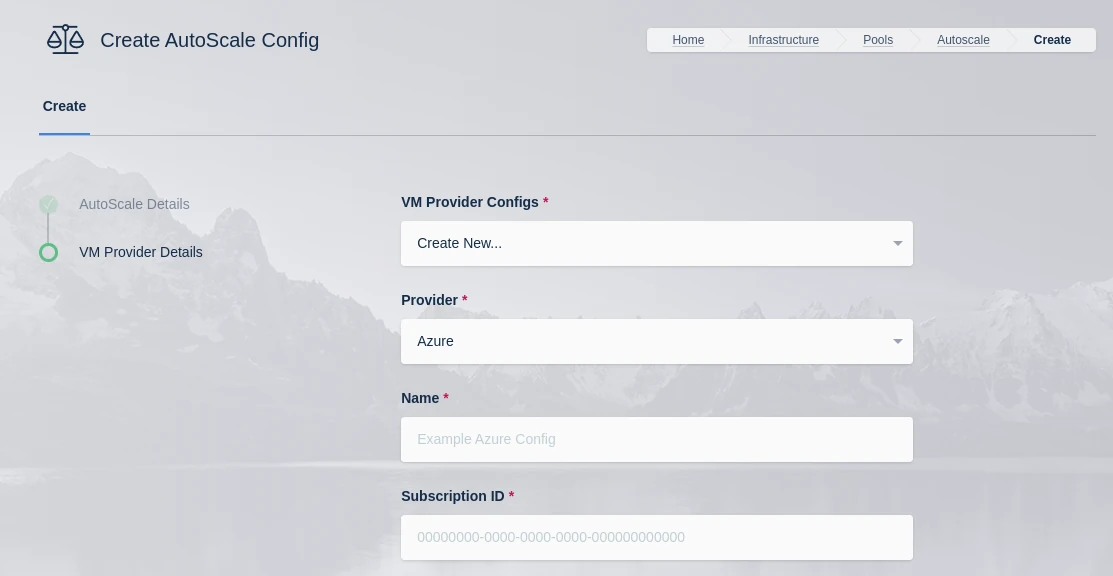
| Name | Description |
|---|---|
| Name | A name to use to identify the config. |
| Subscription ID | The Subscription ID for the Azure Account. This can be found in the Azure portal by searching for Subscriptions in the search bar in Azure home then selecting the subscription to use. (e.g 00000000-0000-0000-0000-000000000000) |
| Resource Group | The Resource Group the DNS Zone and/or Virtual Machines belong to (e.g dev) |
| Tenant ID | The Tenant ID for the Azure Account. This can be found in the Azure portal by going to Microsoft Entra ID using the search bar in Azure home. (e.g 00000000-0000-0000-0000-000000000000) |
| Client ID | The Client ID credential used to auth to the Azure Account. Client ID can be obtained by registering an application within Microsoft Entra ID. (e.g 00000000-0000-0000-0000-000000000000) |
| Client Secret | The Client Secret credential created with the registered application in Microsoft Entra ID. (e.g abc123) |
| Azure Authority | Which Azure authority to use, there are four, Azure Public Cloud, Azure Government, Azure China and Azure Germany. |
| Region | The Azure region where the Agents will be provisioned. (e.g eastus) |
| Max Instances | The maximum number of Azure VMs to provision regardless of the need for additional resources. |
| VM Size | The size configuration of the Azure VM to provision (e.g Standard_D2s_v3) |
| OS Disk Type | The disk type to use for the Azure VM. (e.g Premium_LRS) |
| OS Disk Size (GB) | The size (in GB) of the boot volume to assign the compute instance. |
| OS Image Reference (JSON) | The OS Image Reference configuration for the Azure VMs (e.g {"publisher":"canonical","offer":"0001-com-ubuntu-server-jammy","sku":"22_04-lts-gen2","version":"latest"} or {"id":"/subscriptions/000.../resourceGroups/dev/providers/Microsoft.Compute/galleries/development-gallery/img/ubuntu-22.04-custom"}) |
| Image is Windows | Is this a windows VM being created |
| Network Security Group | The network security group to attach to the VM (e.g /subscriptions/000.../resourcegroups/dev/providers/Microsoft.Network/networkSecurityGroups/example-nsg) |
| Subnet | The subnet to attach the VM to (e.g /subscriptions/000.../resourceGroups/dev/providers/Microsoft.Network/virtualNetworks/development-vnet/subnets/default) |
| Assign Public IP | If checked, the VM will be assigned a public IP. If no public ip IP is assigned the VM must ne attached to a standard load balancer of the subnet must have a NAT Gateway or user-defined route (UDR). If a public IP is used, the subnet must not also include a NAT Gateway. Reference |
| Tags (JSON) | A JSON dictionary of custom tags to assign to the VMs (e.g {"foo":"bar", "bin": "baz"} ) |
| OS Username | The login username to assign to the new VM (e.g testuser) |
| OS Password | The login password to assign to the new VM. Note: Password authentication is disabled for SSH by default |
| SSH Public Key | The SSH public key to install on the VM for the defined user: (e.g ssh-rsa AAAAAAA....) |
| Agent Startup Script | When instances are provisioned, this script is executed and is responsible for installing and configuring the Kasm Agent. |
| Config Override (JSON) | Custom configuration may be added to the provision request for advanced use cases. The emitted json structure is visible by clicking JSON View when inspecting the VM in the Azure console. The keys in this configuration can be used to update top level keys within the emitted json config (e.g {"location":"eastus"}). Nested items can be updated by using dot notation in the key (e.g {"hardware_profile.vm_size":"Standard_D4s_v3"}) Exiting array elements can be updated by specifying the index in the dot notation (e.g {"os_profile.linux_configuration.ssh.public_keys.0.path":"/home/ubuntu/.ssh/authorized_keys"}) |
The following instructions utilize the Azure CLI. You can open the CLI in the Azure web portal and run these commands directly. See Microsoft's instructions for basic usage of the Azure Cloud Shell environment.
-
Select Azure from the Provider Drop Down.
-
Provide a name for your configuration.
-
Enter your Subscription ID, Resource Group, and Tenant ID from the Azure Setup above.
-
Enter the Client ID and Client Secret created during Azure Setup above.
-
Select the Azure Authority from the drop down. Most users will select Azure Public Cloud.
-
Enter the region name, you can use the following Azure CLI command to list available regions, use the Name column.
az account list-locations -o table -
Enter the Maximum Instances. This puts an upper limit on the number of VMs this auto scale configuration can create.
-
Enter a VM Size by name. Use the following Azure CLI command to list all VM sizes available in the desired region.
az vm list-sizes --location "westus" -
Enter the OS Disk Type, using the Azure Disk Type SKU. The following is the current list of available type names. Not all disk SKUs are compatible with all VM size types.
Disk Type Name Standard_LRS Standard_GRS Standard_RAGRS Standard_ZRS Premium_LRS Premium_ZRS Standard_GZRS Standard_RAGZRS -
Enter the OS Disk Size, in gigabytes. The size need to be at least the size of the target OS Image Reference, defined in the next field.
-
Enter the OS Image Reference JSON. Use the following Azure CLI command to list images in the JSON format expected by Kasm. Note that these are default Azure provided images, however, you will most likely need to create a Custom Image.
# List Windows Server Editions using the offline list (faster)
az vm image list --architecture x64 --location westus --offer WindowsServer
# Search the full Marketplace for Desktop versions of Windows
az vm image list --architecture x64 --location westus --all --publisher MicrosoftWindowsDesktop
Here is an example of an OS Image Reference JSON value returned by one of the above queries that can be used.
{
    "architecture": "x64",
    "offer": "windows-ent-cpc",
    "publisher": "MicrosoftWindowsDesktop",
    "sku": "win11-22h2-ent-cpc-os",
    "urn": "MicrosoftWindowsDesktop:windows-ent-cpc:win11-22h2-ent-cpc-os:22621.963.221213",
    "version": "22621.963.221213"
} -
Check the Image is Windows checkbox.
-
Enter the target Network Security Group. In the Azure portal, find your Network Security Group, go to Properties, and find the Resource ID field.
-
Enter the target Subnet. In the Azure portal, find your subnet, go to Properties, and find the Resource ID field.
-
Check the Assign Public IP box if you desire your VMs to have public IP addresses. It is more secure to not have public IP addresses assigned. Kasm will provide a secure way to provide access to private systems and therefore, it is not strictly necessary to have a public IP.
-
Optionally provide additional tags for the VM, use empty
{}brackets if no additional tags are needed. -
Enter a public SSH Key, this is required even for Windows systems.
-
Enter a PowerShell startup script. Azure does not automatically run this script on startup like other cloud providers. You will need to create a Custom Image in order for the startup script to execute on boot. The following example will create a local user account using the Connection Username and Connection Password fields specified on the previous screen. This is only relevant if you are using static credentials and will not work Active Directory integration.
$pass = ConvertTo-SecureString -String "{connection_password}" -AsPlainText -Force

New-LocalUser -Name {connection_username} -Description 'Programatically generated Kasm user account' -Password $pass -PasswordNeverExpires -AccountNeverExpires | Add-LocalGroupMember -Group administrators | Add-LocalGroupMember -Group "Remote Desktop Users"

Start-Service -Name "Audiosrv" -
Enter a Config Override as JSON. This is where the Image Reference (VERSION_ID from Custom Image Step 13 below) will be provided. Additionally, in the example we used Windows 11, which requires SecureBoot to be enabled and the securityType to be set to TrustedLaunch. This is not required for older versions of Windows such as Windows 10 and therefore it is not required to provide override settings for those cases. Finally, some plans in Azure require that the Plan object be included as well. Below are examples for a Windows 10 image, without securityType, and for a Windows 11 image with securityType. Both include the Plan object, but that object may be left out for some plans.
{
    "virtual_machine": {
        "plan": {
            "name": SKU,
            "product": OFFER,
            "publisher": PUBLISHER
        },
        "properties": {
            "storageProfile": {
                "imageReference": {
                    "id": VERSION_ID
                }
            }
        }
    }
}
{
"virtual_machine": {
"plan": {
"name": SKU,
"product": OFFER,
"publisher": PUBLISHER
},
"properties": {
"securityProfile": {
"securityType": "TrustedLaunch",
"uefiSettings": {
"secureBootEnabled": true,
"vTpmEnabled": true
}
},
"storageProfile": {
"imageReference": {
"id": VERSION_ID
}
}
}
}
} -
Submit the Provider Config
Custom Image
Unlike most other cloud providers, Azure does not automatically execute the startup script on boot. You need to create a custom image and implement your own method of executing that script on boot. The following method has been tested by Kasm, but is by no means the only method that can be used. These procedures are only necessary if you want to utilize Kasm's startup script injection and perform custom actions on boot of the VMs.
-
Manually create a VM using the appropriate base image, such as Windows 11 Enterprise.
-
Install the required software and configure the OS as appropriate for your environment.
-
Create a file with the following contents at C:\AzureData\startup.cmd.
schtasks /Delete /TN "DomainJoin" /F
cd C:\AzureData

setlocal EnableExtensions EnableDelayedExpansion
set tries=0

:CheckForFile
IF EXIST CustomData.bin GOTO FoundIt
set /a tries+=1
IF !tries! GEQ 40 GOTO Timeout
TIMEOUT /T 15 >nul
GOTO CheckForFile

:FoundIt
ren CustomData.bin CustomData.ps1
PowerShell -Command "Set-ExecutionPolicy Unrestricted"
PowerShell -file C:\AzureData\CustomData.ps1
GOTO End

:Timeout
REM Timed out waiting for CustomData.bin (40 x 15s)

:End -
Open a Windows Command Prompt as an Administrator and execute the following command.
schtasks /create /tn "DomainJoin" /sc onstart /rl highest /ru system /tr "cmd /c C:\AzureData\startup.cmd > C:\AzureData\startup.log 2>&1" -
Run sysprep on the VM and shut it down. Run the following in an elevated command prompt.
cd %windir%\system32\sysprep
sysprep.exe /oobe /generalize /mode:vm /shutdownwarningYou may get an error message when running the above command on a Windows 11 system using the default Azure provided image. Look at the log file indicated by the error message. If you see an error message near the bottom of the logs indicating OneDriveSync was installed for the user but not provisioned for all users, remove the software from an elevated PowerShell session with the following command. Try sysprep again after running this command.
get-appxpackage -allusers -name "microsoft.Onedrivesync" | Remove-appxpackage -
Open a Cloud Shell in Azure and run the following command to get a list of VMs and find the VM that you just ran sysprep on.
az vm list -otable -
The table provided by the above command will contain the VM name and its resource group name. Plug in your VM name and resource group name into the below command in order to generalize the VM.
az vm generalize -g RESOURCE_GROUP_NAME -n VM_NAME -
Create a Gallery, if one is not already available for the location of the Custom Image VM, which is how images are shared and organized in Azure. Plug in your resource group name and your desired Gallery name.
az sig create --resource-group RESOURCE_GROUP_NAME --gallery-name GALLERY_NAME -
Obtain the full ID of the VM you want to create an image from. Plug in your resource group name and VM name into the below command.
az vm get-instance-view -g RESOURCE_GROUP_NAME -n VM_NAME --query idThe output should look similar to the following and will be used in step 11.
"/subscriptions/<SUBSCRIPTION_ID>/resourceGroups/<RESOURCE_GROUP_NAME>/providers/Microsoft.Compute/virtualMachines/<VM_NAME>" -
From the Azure portal search bar, search for 'Azure compute galleries' and find the Gallery you created on step 8. Click into that gallery. Click the drop down on the Add button and select 'VM Image Definition'. Provide a VM image definition name and select Windows as the OS Type. The Security Type and VM generation may differ based on what base image you started from. For Windows 11, select Trusted Launch for the Security Type, which will lock you into VM generation 2. The Publisher, Offer, and SKU can all be found in the Azure Portal on the VM page, under Source Image Details. After creating the image definition, take note of the name for the subsequent steps.
-
Create a Managed Image using the below command for your desired MANAGED_IMAGE_NAME and appropriate os-type and hyper-v-generation depending on what was selected in Step 10 (using Windows and V2 for the example below).
az image create --resource-group RESOURCE_GROUP_NAME --name MANAGED_IMAGE_NAME --source "VM_ID" --os-type Windows --hyper-v-generation V2 --location "eastus" -
Create an Image version. Plug in your resource group name, gallery name, image definition, desired version number, location, and target regions into the following Azure CLI command. For the managed-image field, use the managed image name you created in step 11. Target regions must include both the region your image is in and the region your resource group is in, if different.
az sig image-version create \
--resource-group RESOURCE_GROUP_NAME \
--gallery-name GALLERY_NAME \
--gallery-image-definition IMAGE_DEFINITION_NAME \
--gallery-image-version 1.0.0 \
--location "eastus"
--target-regions "eastus" \
--replica-count 2 \
--managed-image MANAGED_IMAGE_NAME
Make note of the ID returned from the above command for the next step.
-
In the VM Provider configuration, Step 11 and Step 19, put the ID returned by the previous step into the OS Image Reference and Config Override fields. The following is an example.
{
"id": "/subscriptions/<Subscription_ID>/resourceGroups/<RESOURCE_GROUP_NAME>/providers/Microsoft.Compute/galleries/<GALLERY_NAME>/img/IMAGE_DEFINITION_NAME/versions/1.0.0"
}
Test your Microsoft Azure Autoscaling setup
If you have configured non-zero Standby/Minimum Available Session values agents should start provisioning immediately. Otherwise, try launching multiple workspaces to increase resource utilization, prompting Kasm to autoscale new agents.
- Provision a Workspace.
- Go to Workspaces > Registry.
- Make multiple workspaces available.
- Go to the Workspaces dashboard and launch sufficient workspace sessions to exceed your resource standby thresholds.
- Monitor the provisioning of new agents by going to "Infrastructure" -> "Agents".
- Verify new VM instances in Microsoft Azure.
- Check Downscaling.
- Terminate sessions to reduce resource usage.
- Confirm that Kasm removes agents after the back-off period.