OpenZiti Quickstart
This walkthrough uses kziti, a CLI that wraps OpenZiti behind an opinionated model, to stand up a small lab on a single VM and reach a private nginx from a Kasm workspace.
You will:
- Install
kzitiand bring up an OpenZiti controller and router. - Create a network and a private router that hosts your services.
- Run an
nginxcontainer behind the private router and publish it as a service. - Configure Kasm to use OpenZiti as an egress provider.
- Grant a Kasm-managed identity access to the service.
- Validate traffic from a Kasm session.
Prerequisites
- A Linux VM (x86_64 or aarch64) with:
- access to root/sudo
- an internet accessible IPV4 address
- a DNS record pointed at the IPV4 address
- an installation of Docker
- A Kasm deployment whose Manager and Agents can reach the Linux VM on ports:
1280/tcp- controller edge/client and management API.6262/tcp- controller fabric port (used by routers).3022/tcp- public edge router listener.3023/tcp- private router listener.
Step 1. Install kziti
curl -fsSL https://kasmweb-build-artifacts.s3.amazonaws.com/kziti/install.sh | bash
kziti --version
You should see a version printout:
$ kziti --version
kziti 0.1.0.dev28+dc90047
  commit: dc9004792a40
  built:  2026-05-08T17:18:17Z
Step 2. Deploy the OpenZiti controller and public router
Parameters:
<your-linux-vm-dns>: DNS record from prerequisites<create-an-admin-password>: Generate yourself a secure alphanumeric password
kziti deploy install \
  --controller-host <your-linux-vm-dns> \
  --router-host <your-linux-vm-dns> \
  --admin-password '<create-an-admin-password>' \
  --yes
This bootstraps:
- An OpenZiti Controller on the controller hostname.
- A Public Router on the router hostname.
- An admin identity that
kzitiuses for every subsequent command on this host.
The install runs in a few minutes and lives at /opt/kziti by default. It will conclude with Installation complete.
Step 3. Create a network and a private router
In kziti's model a network groups related services. A private router sits next to the resources the network exposes and is the only thing that hosts services.
Create the network record on the controller:
kziti network create demo "Demo"
Provision a private router record for the network — this writes an enrollment JWT:
kziti router private provision demo demo-router-1 --output-dir /tmp
For a single-host quickstart, run the private router on the same VM in a separate kziti install directory and compose project:
Use --router-port 3023 to avoid conflicting with the public router already bound to port 3022:
kziti deploy install \
  --profile router \
  --install-dir /opt/kziti-demo-router \
  --project kziti-demo-router \
  --router-host <your-linux-vm-dns> \
  --router-port 3023 \
  --enrollment-token "$(cat /tmp/demo-router-1.jwt)" \
  --yes
Confirm the new router shows online:
kziti router list
Step 4. Run a private nginx behind the router
Run an nginx container attached to the private router's compose network so the router can reach it by container hostname:
docker run -d \
  --name private-nginx \
  --network kziti-demo-router_ziti \
  nginx:alpine
If your install used a different --project name, run docker network ls and pick the network whose name starts with the project you chose.
Step 5. Publish the nginx service
kziti service create demo private-nginx private-nginx 80 \
  --alias private-nginx.demo.zt
--alias is the hostname Kasm sessions will dial; the Ziti tunnel resolves it, no DNS entry needed.
Step 6. Generate a Kasm admin identity
Kasm authenticates to the OpenZiti controller using an admin identity. Create and auto-enroll one:
kziti identity create kasm_api --admin --auto-enroll --output-dir .
This writes ./kasm_api.json — the identity file you will paste into Kasm in the next step.
Step 7. Configure OpenZiti egress in Kasm
- Go to Infrastructure → Egress.
- Create an egress provider with type OpenZiti.
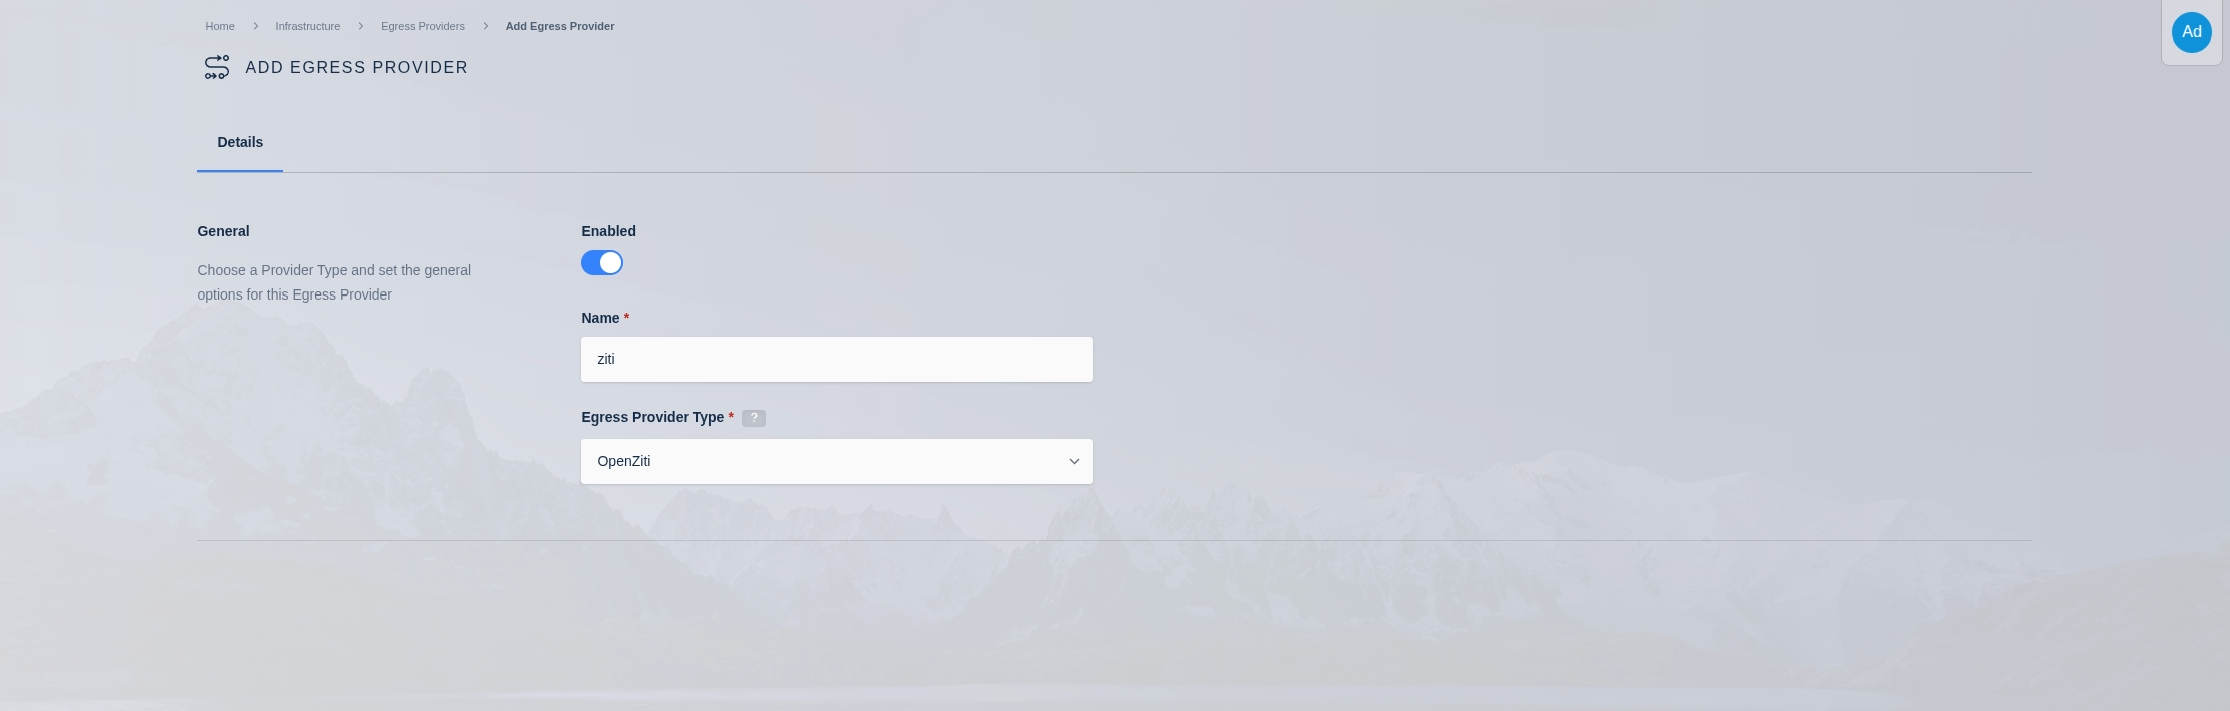
- Open the provider and go to OpenZiti Configuration.
- Open
./kasm_api.jsonand paste the full JSON as the OpenZiti admin identity.
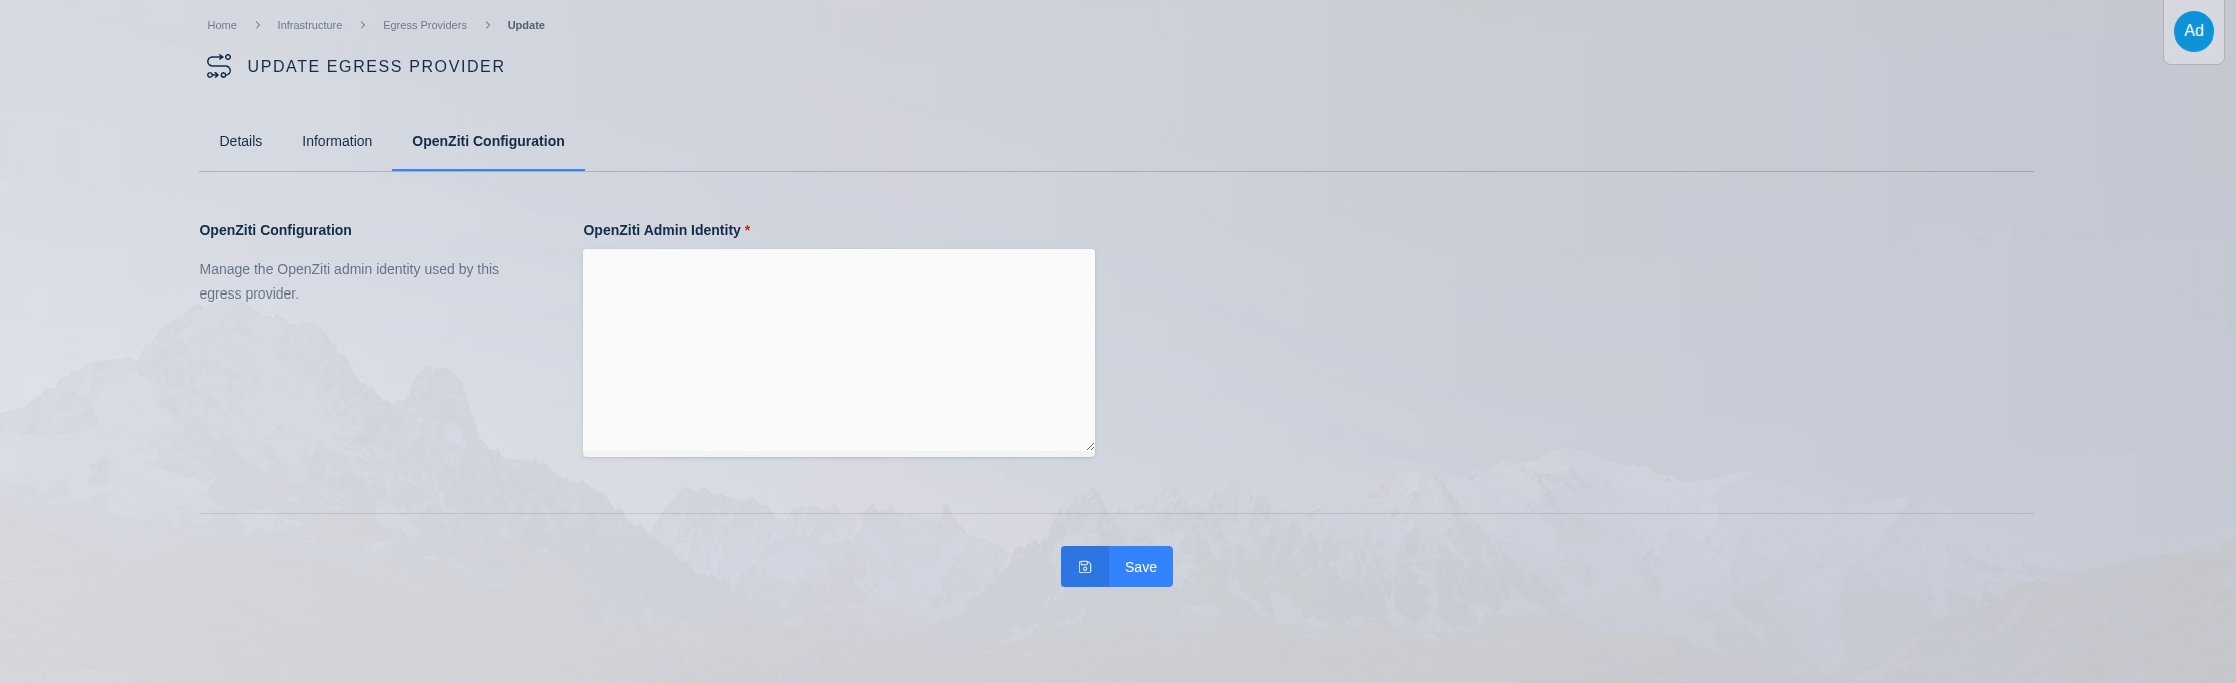
Example admin identity JSON shape:
{
  "ztAPI": "https://ziti.example.com:1280/edge/client/v1",
  "id": {
    "cert": "pem:-----BEGIN CERTIFICATE-----...",
    "key": "pem:-----BEGIN PRIVATE KEY-----...",
    "ca": "pem:-----BEGIN CERTIFICATE-----..."
  }
}
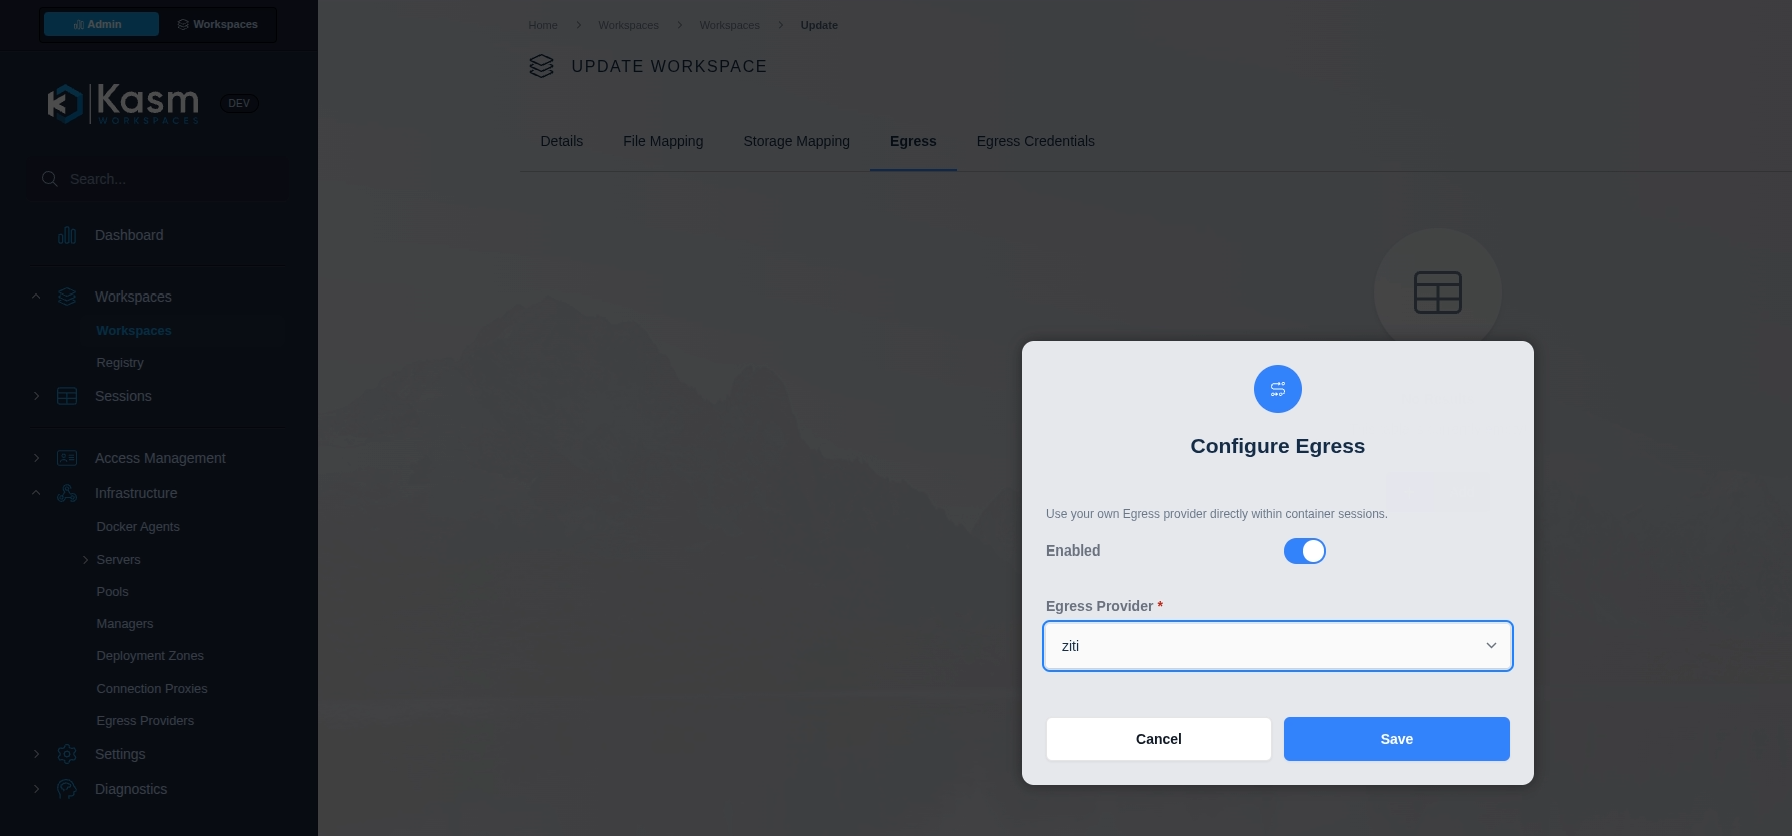
- Map the provider to target users or workspaces.
Step 8. Grant the Kasm-managed identity access
After mapping and reconciliation, Kasm creates identities named like:
kasm-user-<username>-<user-id-prefix>-<provider-id-prefix>kasm-workspace-<workspace>-<image-id-prefix>-<provider-id-prefix>
You can find the native OpenZiti UI located at https://<your-linux-vm-dns>:1280/zac.
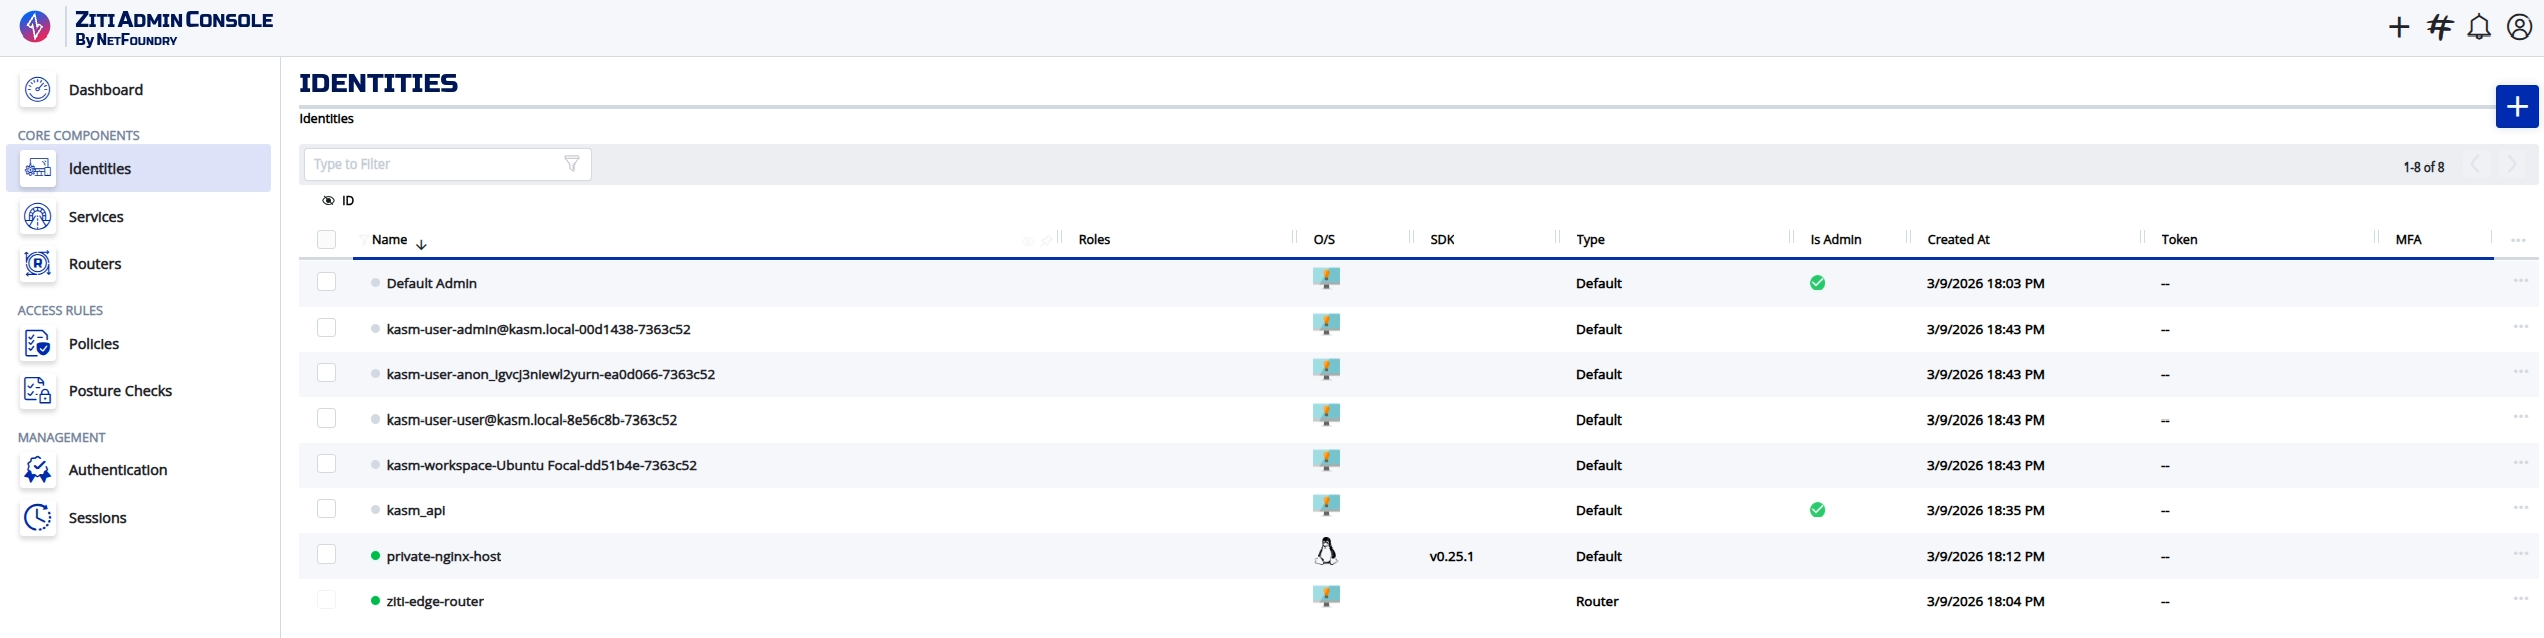
List the Kasm-managed identities and pick the one to grant:
kziti identity list --type workspace
Grant it access to every service in the demo network:
kziti access grant <kasm-workspace-identity-name> net-demo
To scope more narrowly, target a service set (svcset-<name>) or individual service (svc-<id>) instead. See Grant access.
Step 9. Validate from Kasm session
Open a browser inside a mapped Kasm workspace session and navigate to http://private-nginx.demo.zt. You should see the default nginx welcome page.
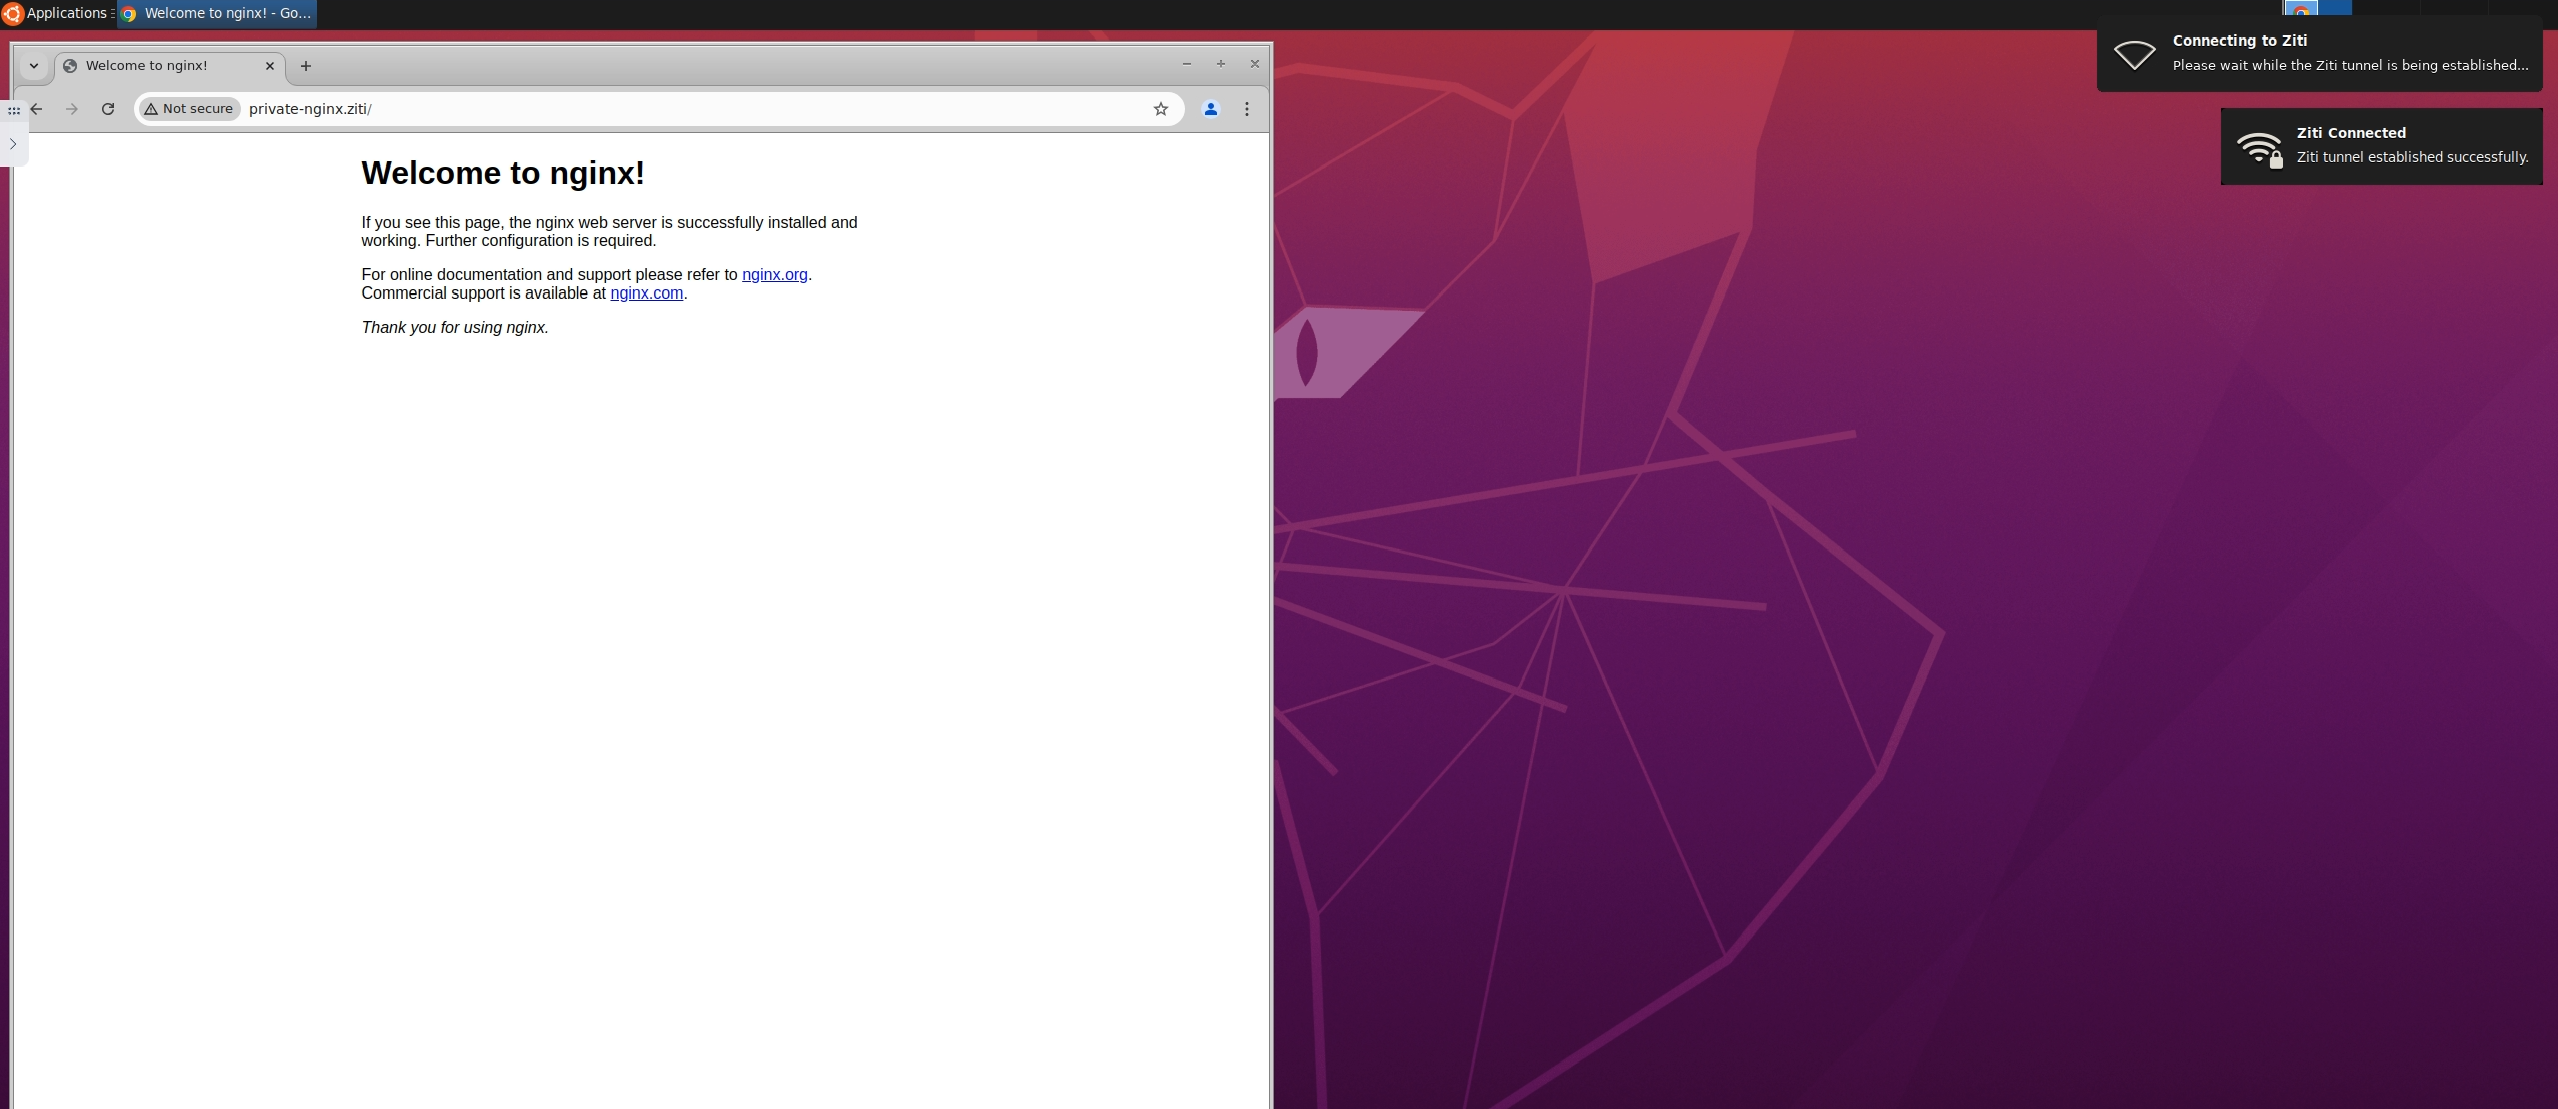
If this fails, continue with the troubleshooting flow.
Troubleshooting basics
- Confirm the OpenZiti stack is healthy and the private router is online:
kziti status
kziti router list
- Confirm the service exists and the grant resolved:
kziti service list --network demo
kziti access list <kasm-workspace-identity-name>
- Check Kasm sidecar logs during session startup:
/var/log/kasm-sidecar/network_sidecar.log/var/run/kasm-sidecar/$container_namespace/ziti.log
- For deeper troubleshooting see the OpenZiti troubleshooting guide.