OpenZiti quickstart
Overview
OpenZiti gives Kasm Workspaces a zero trust path to private services without exposing them on the public network. This guide uses kziti, a CLI that wraps OpenZiti behind an opinionated model, to build a small lab on a single Linux VM. You stand up an OpenZiti controller and routers, publish a private nginx service, and configure Kasm to dial that service through OpenZiti egress. The result is a Kasm session that reaches the private service over an authenticated overlay, with no inbound firewall rules and no DNS entry.
Prerequisites
Before you begin, confirm the following:
- A Linux VM (x86_64 or aarch64) with:
- access to root or sudo
- an internet-accessible IPv4 address
- a DNS record pointed at the IPv4 address
- an installation of Docker
- A Kasm Workspaces deployment whose Manager and Agents can reach the Linux VM on these ports:
1280/tcp- controller edge or client and management API.6262/tcp- controller fabric port, used by routers.3022/tcp- public edge router listener.3023/tcp- private router listener.
- Administrator access to the Kasm Workspaces deployment, with permission to manage egress providers.
Solution approach
This guide progresses through the following phases:
- Install kziti and deploy the OpenZiti control plane.
- Build the network and a private router.
- Publish a private service.
- Configure OpenZiti egress in Kasm.
- Grant access and validate from a Kasm session.
Detailed steps
Install kziti and deploy the OpenZiti control plane
Step 1: Install kziti
-
Install the
kzitiCLI on the Linux VM:curl -fsSL https://kasmweb-build-artifacts.s3.amazonaws.com/kziti/install.sh | bashkziti --version -
Confirm the version printout:
$ kziti --versionkziti 0.1.0.dev28+dc90047commit: dc9004792a40built: 2026-05-08T17:18:17Z
Step 2: Deploy the OpenZiti controller and public router
The deploy command takes two parameters:
<your-linux-vm-dns>: the DNS record from the prerequisites.<create-an-admin-password>: a secure alphanumeric password that you generate.
-
Deploy the controller and public router:
kziti deploy install \--controller-host <your-linux-vm-dns> \--router-host <your-linux-vm-dns> \--admin-password '<create-an-admin-password>' \--yesThis bootstraps the following components:
- An OpenZiti Controller on the controller hostname.
- A Public Router on the router hostname.
- An admin identity that
kzitiuses for every subsequent command on this host.
The install runs in a few minutes and lives at /opt/kziti by default. It concludes with Installation complete.
Build the network and a private router
In the kziti model, a network groups related services. A private router sits next to the resources the network exposes and is the only component that hosts services.
-
Create the network record on the controller:
kziti network create demo "Demo" -
Provision a private router record for the network. This writes an enrollment JWT:
kziti router private provision demo demo-router-1 --output-dir /tmp -
Run the private router on the same VM in a separate
kzitiinstall directory and compose project. Use--router-port 3023to avoid conflicting with the public router already bound to port 3022:kziti deploy install \--profile router \--install-dir /opt/kziti-demo-router \--project kziti-demo-router \--router-host <your-linux-vm-dns> \--router-port 3023 \--enrollment-token "$(cat /tmp/demo-router-1.jwt)" \--yes -
Confirm the new router shows online:
kziti router list
Publish a private service
-
Run an
nginxcontainer attached to the private router's compose network so the router can reach it by container hostname:docker run -d \--name private-nginx \--network kziti-demo-router_ziti \nginx:alpineIf your install used a different
--projectname, rundocker network lsand pick the network whose name starts with the project you chose. -
Publish the
nginxservice:kziti service create demo private-nginx private-nginx 80 \--alias private-nginx.demo.ztThe
--aliasvalue is the hostname Kasm sessions dial. The Ziti tunnel resolves it, so no DNS entry is needed.
Configure OpenZiti egress in Kasm
Kasm authenticates to the OpenZiti controller using an admin identity.
-
Create and auto-enroll an admin identity for Kasm:
kziti identity create kasm_api --admin --auto-enroll --output-dir .This writes
./kasm_api.json, the identity file you paste into Kasm in the next steps. -
In the Kasm Workspaces UI, go to Infrastructure > Egress.
-
Create an egress provider with type OpenZiti.
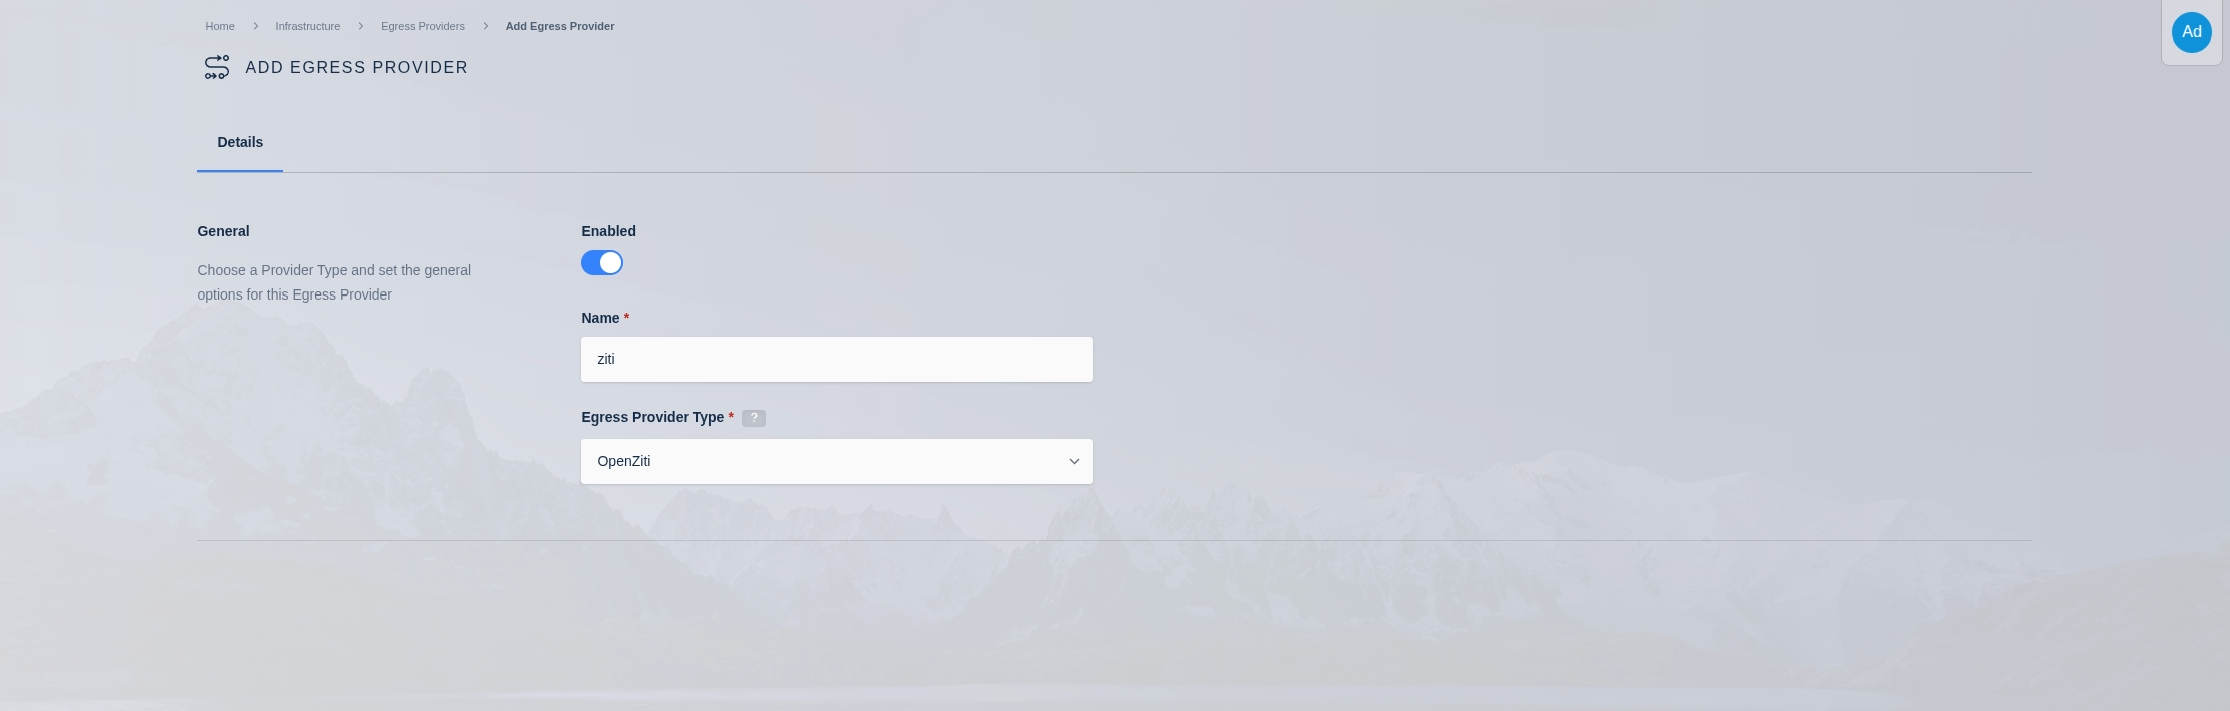
OpenZiti Creation -
Open the provider and go to OpenZiti Configuration.
-
Open
./kasm_api.jsonand paste the full JSON as the OpenZiti admin identity.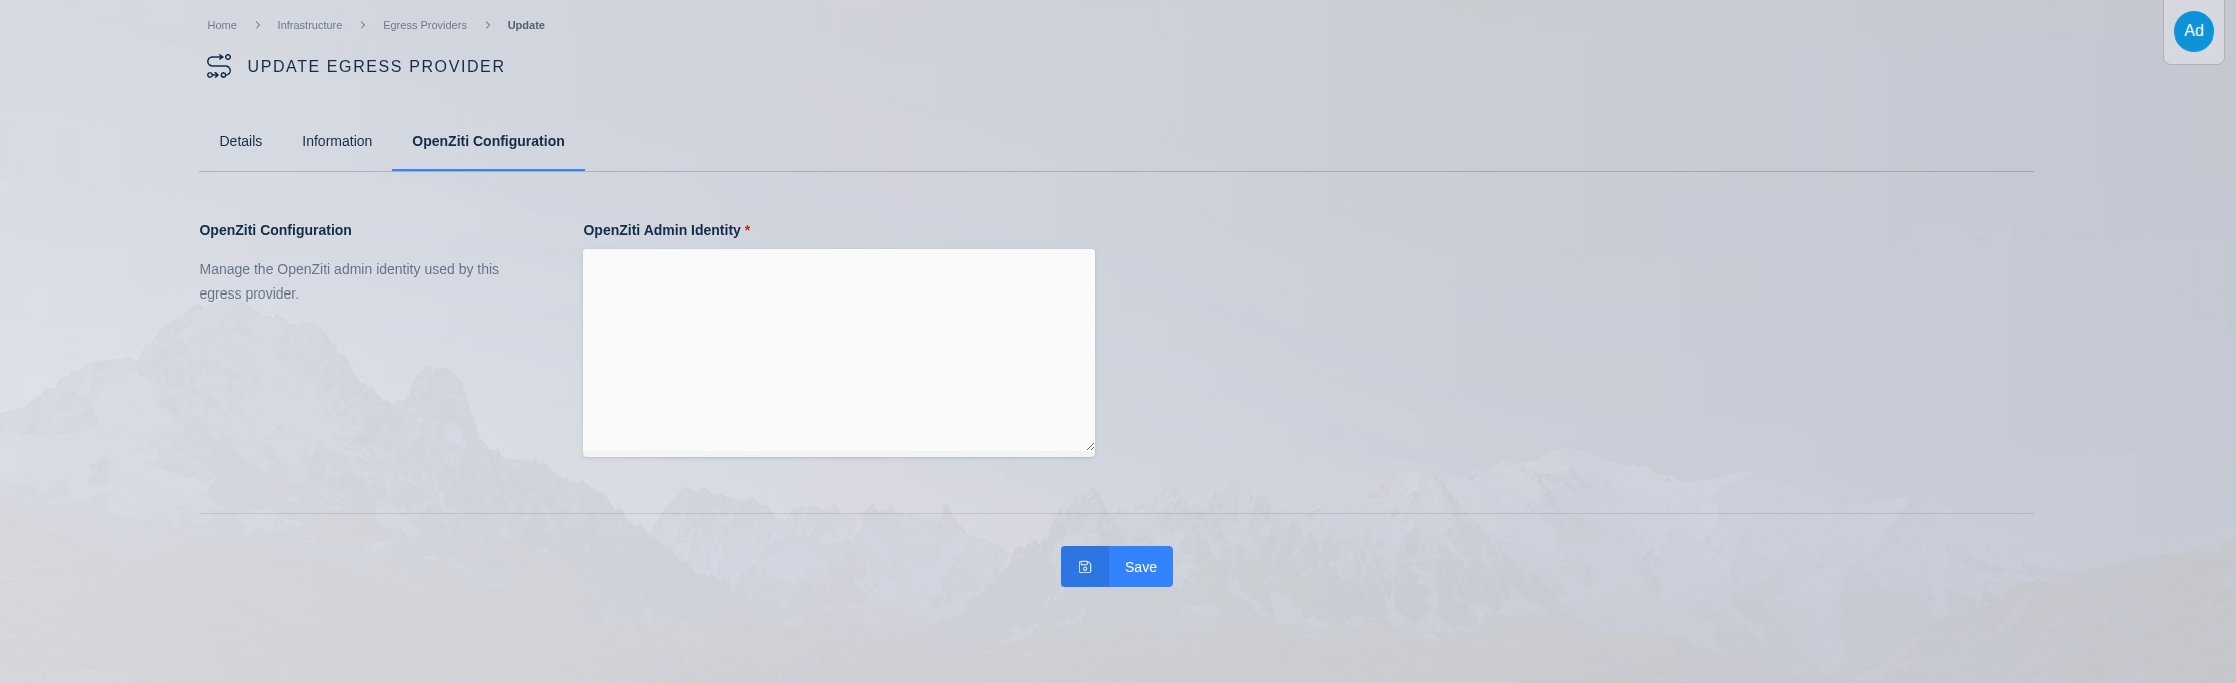
OpenZiti Credential The admin identity JSON uses the following shape:
{"ztAPI": "https://ziti.example.com:1280/edge/client/v1","id": {"cert": "pem:-----BEGIN CERTIFICATE-----...","key": "pem:-----BEGIN PRIVATE KEY-----...","ca": "pem:-----BEGIN CERTIFICATE-----..."}} -
Map the provider to target users or workspaces.
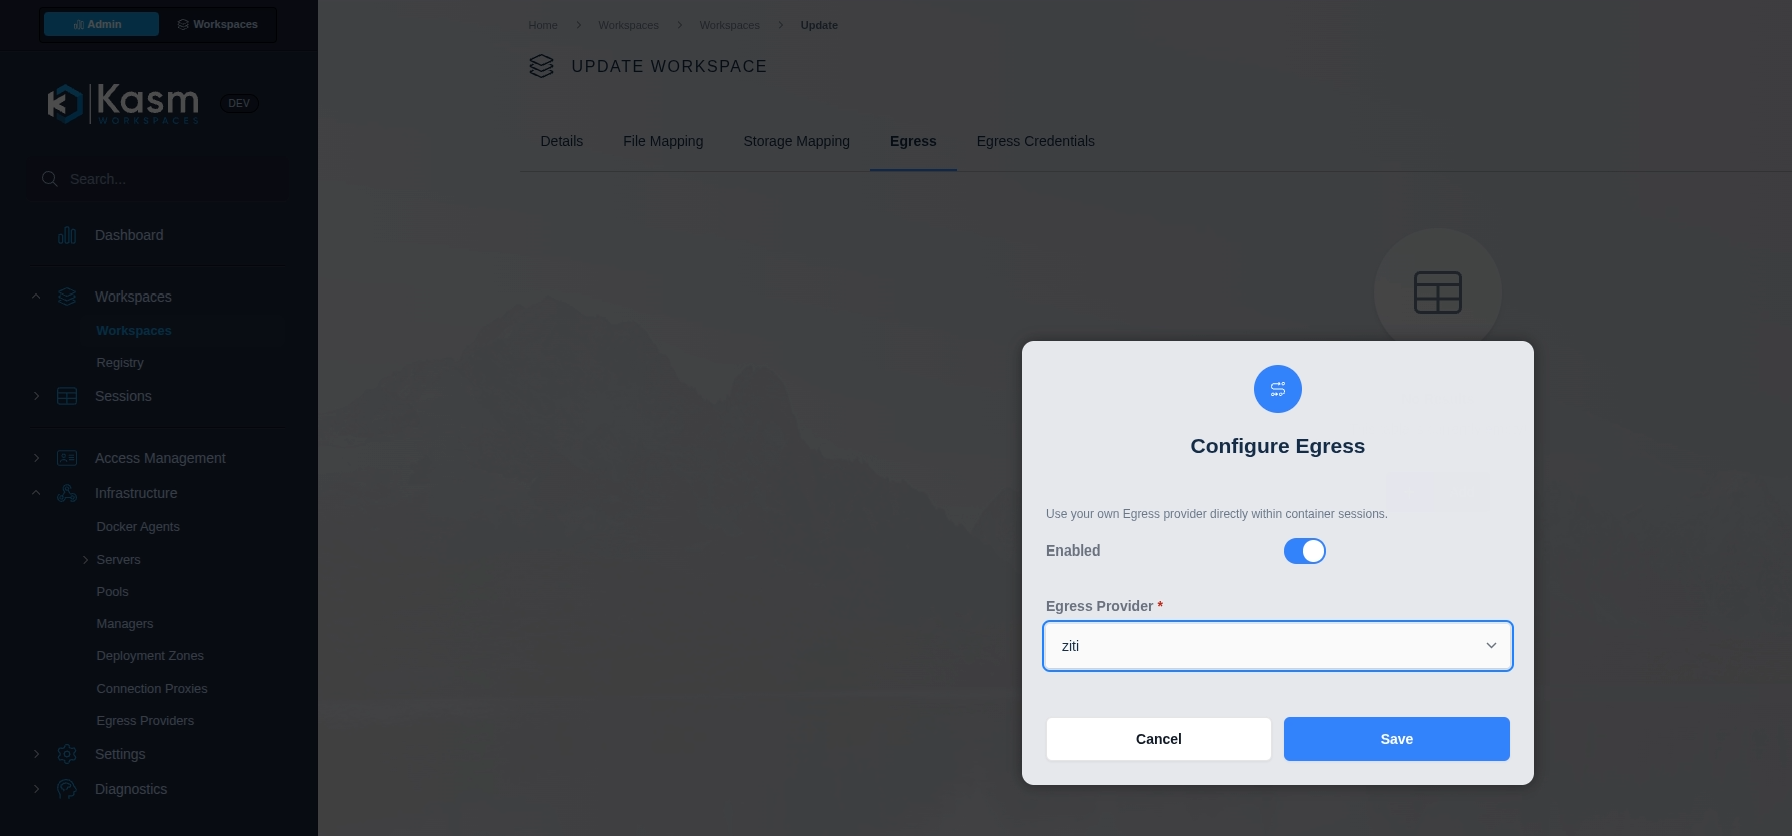
OpenZiti Mapping
Grant access and validate from a Kasm session
After mapping and reconciliation, Kasm creates identities named like the following:
kasm-user-<username>-<user-id-prefix>-<provider-id-prefix>kasm-workspace-<workspace>-<image-id-prefix>-<provider-id-prefix>
You can find the native OpenZiti UI at https://<your-linux-vm-dns>:1280/zac.
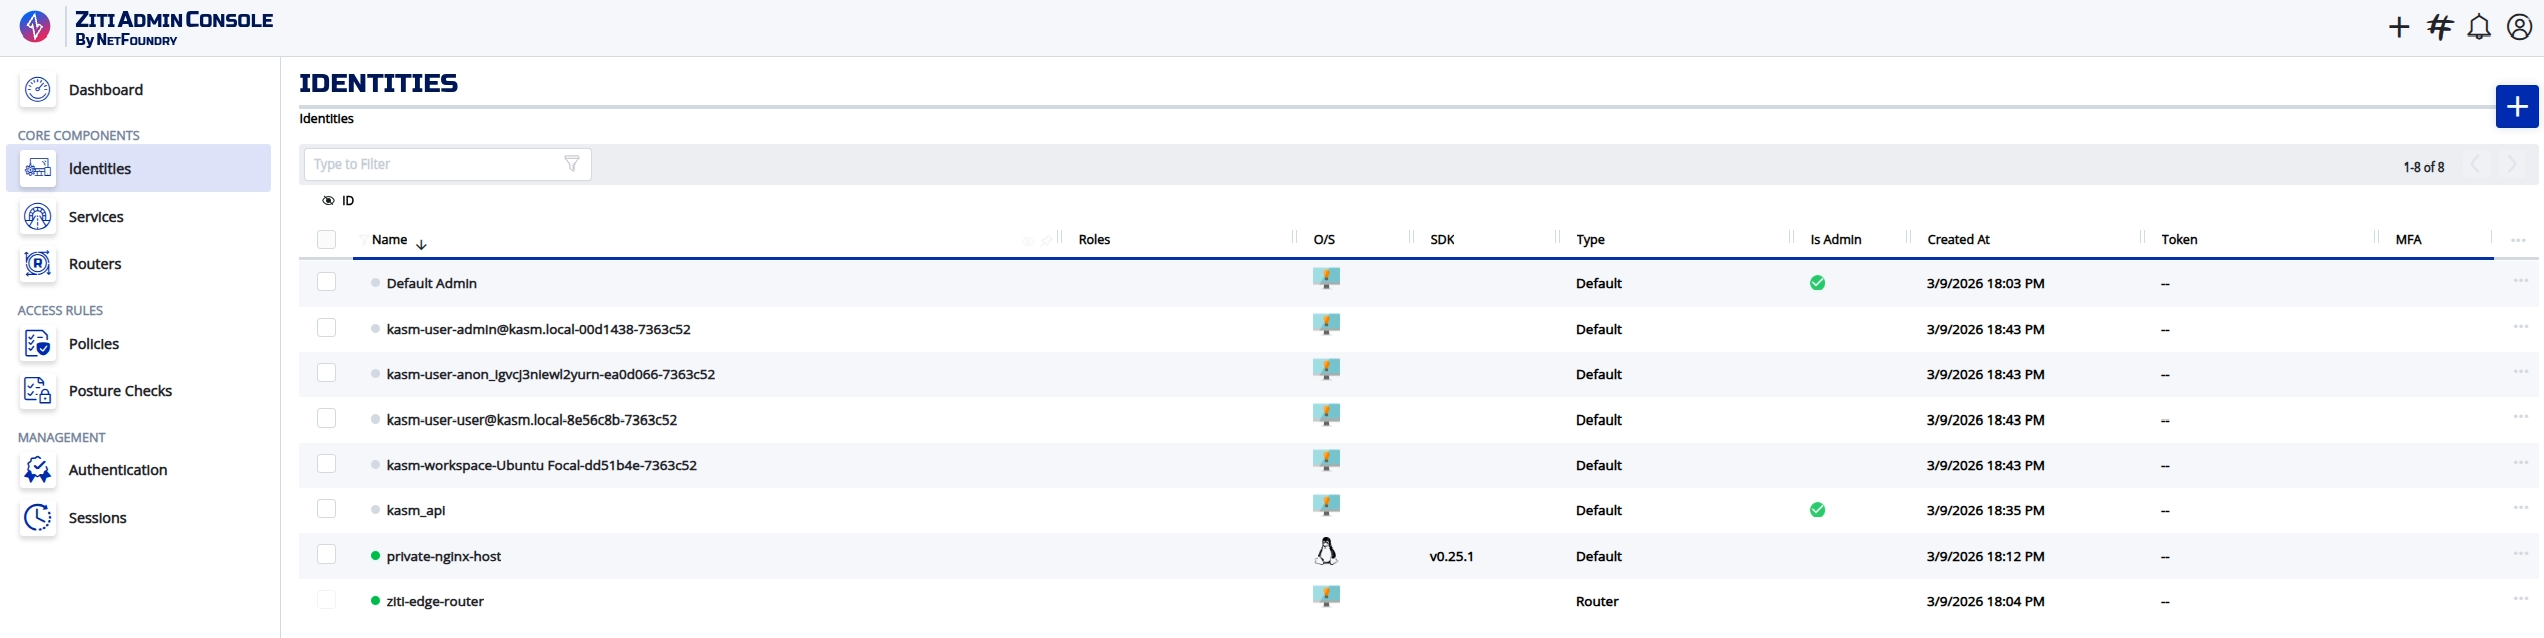
-
List the Kasm-managed identities and pick the one to grant:
kziti identity list --type workspace -
Grant it access to every service in the
demonetwork:kziti access grant <kasm-workspace-identity-name> net-demoTo scope more narrowly, target a service set (
svcset-<name>) or individual service (svc-<id>) instead. See Grant access. -
Open a browser inside a mapped Kasm workspace session and navigate to
http://private-nginx.demo.zt. The defaultnginxwelcome page confirms that egress works.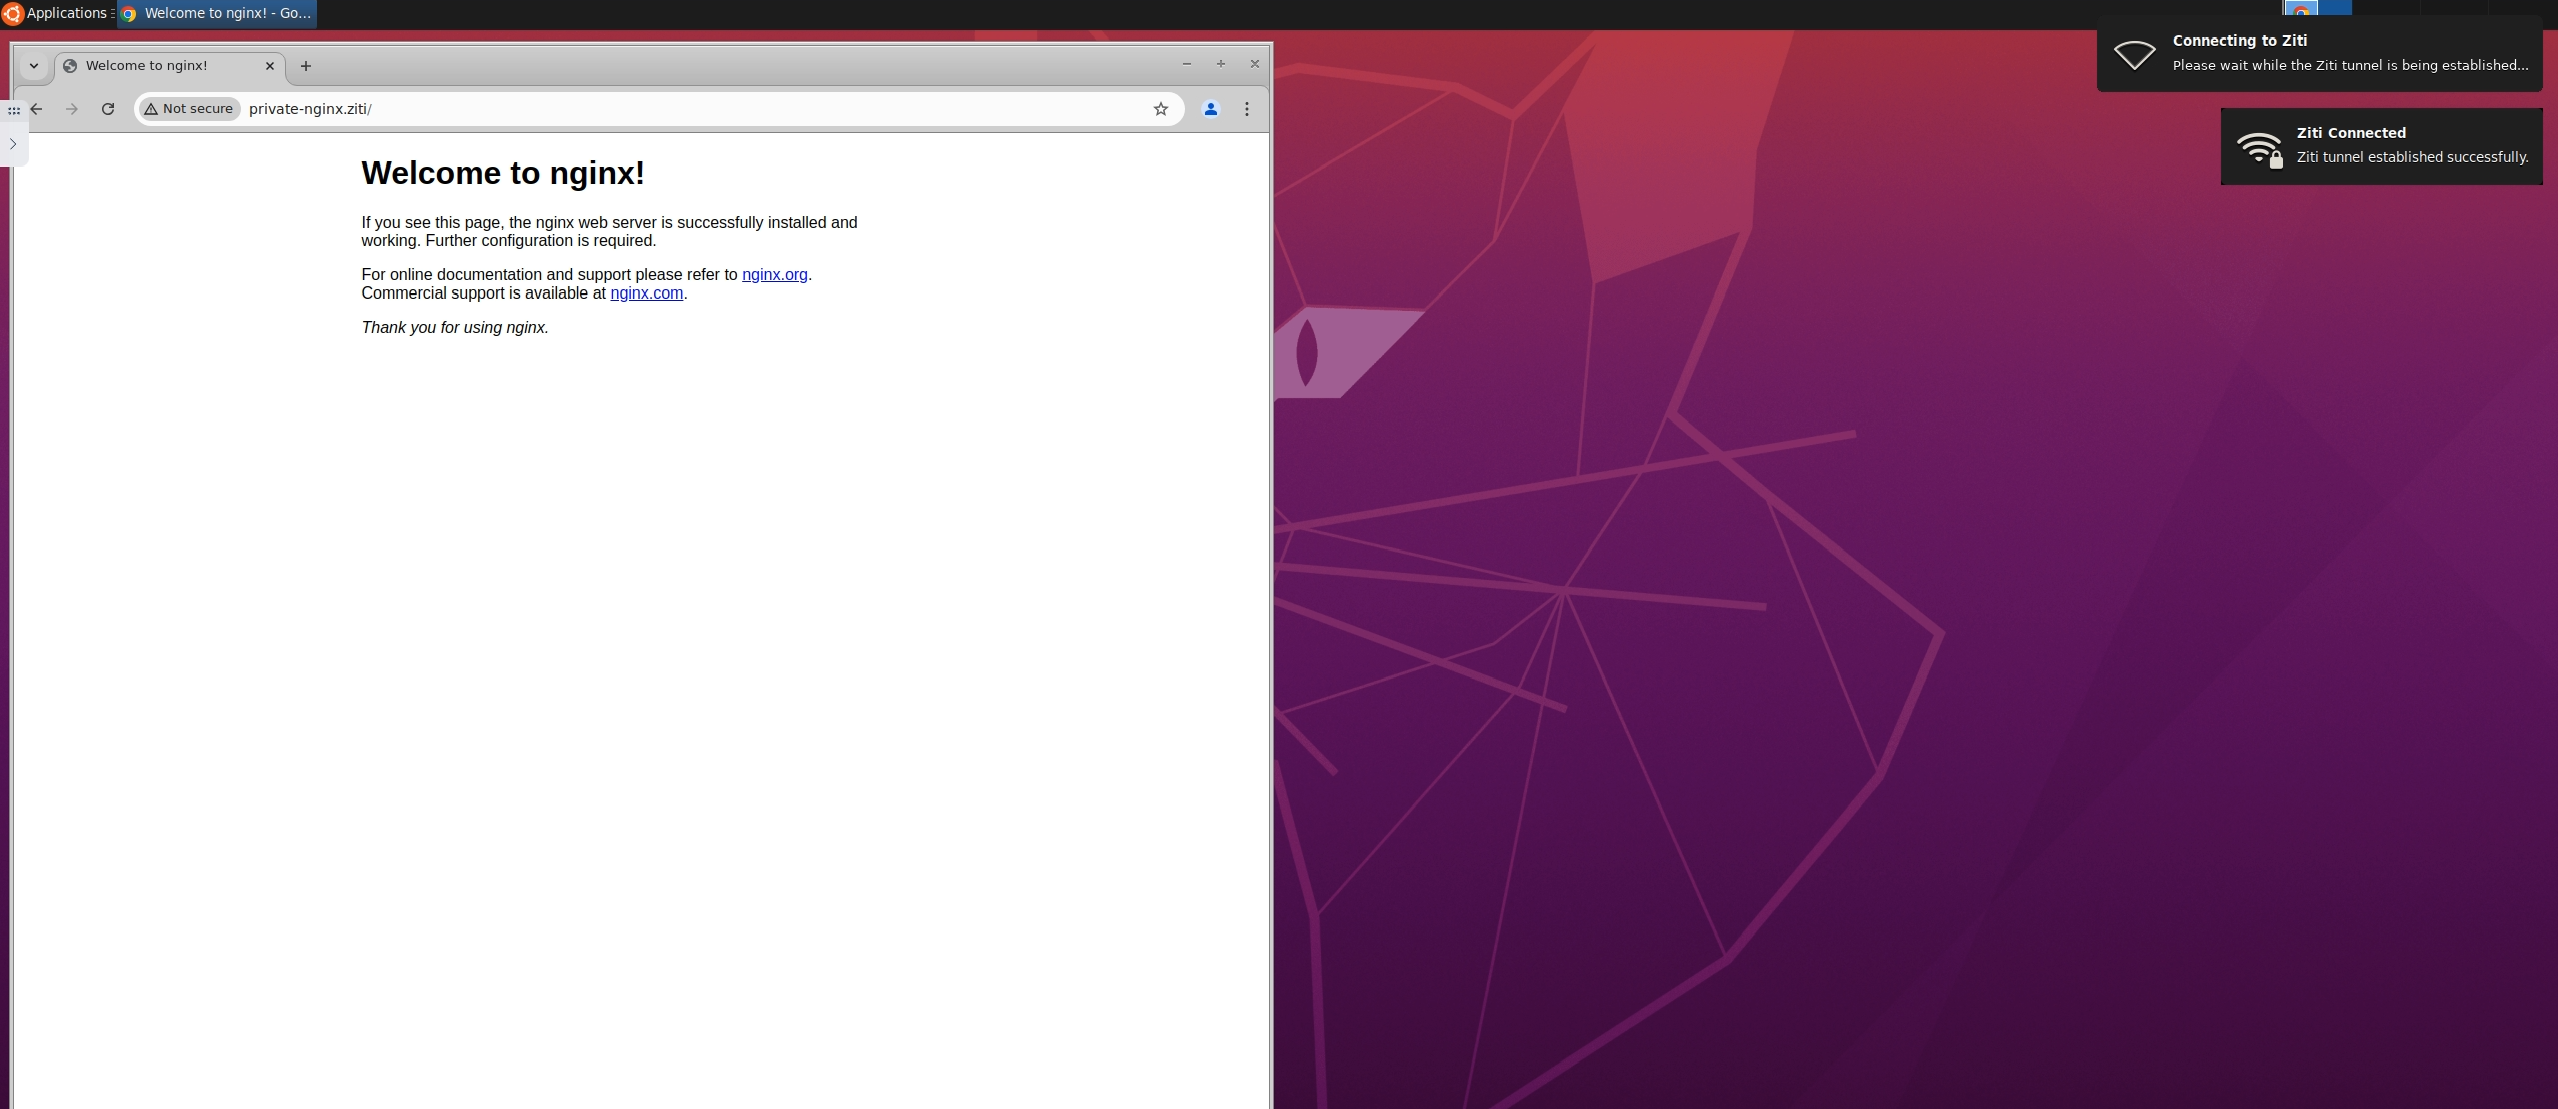
OpenZiti Workspace If the page does not load, continue with the troubleshooting steps below.
Common troubleshooting steps
-
The stack or private router is not healthy. Confirm that the OpenZiti stack is healthy and the private router is online:
kziti statuskziti router list -
The service or grant does not resolve. Confirm that the service exists and the grant resolved:
kziti service list --network demokziti access list <kasm-workspace-identity-name> -
The session cannot reach the service. Check the Kasm sidecar logs during session startup:
/var/log/kasm-sidecar/network_sidecar.log/var/run/kasm-sidecar/$container_namespace/ziti.log
-
The issue persists after these checks. For deeper troubleshooting, see the OpenZiti troubleshooting guide.